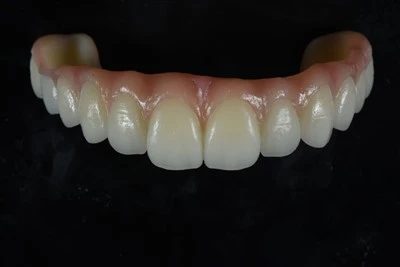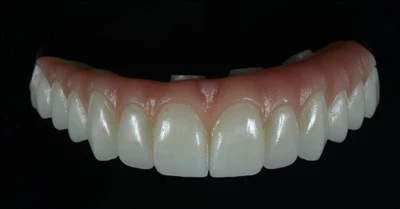
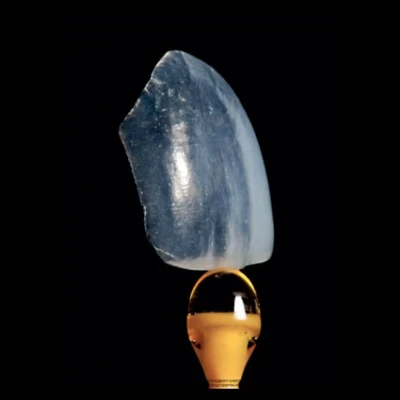
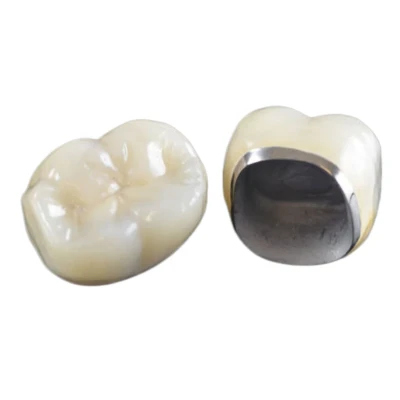
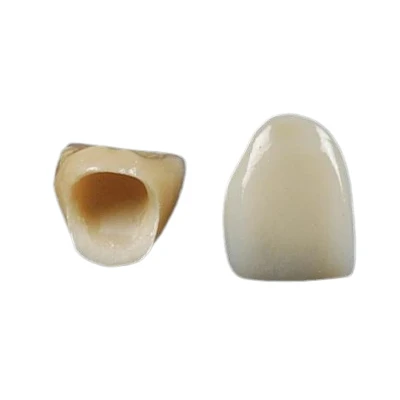
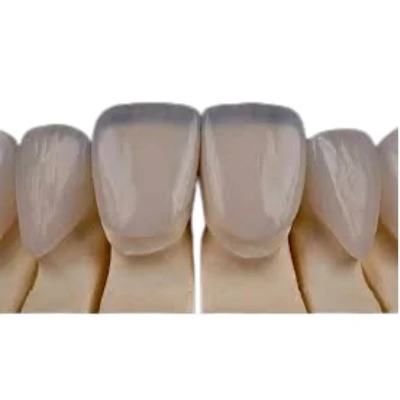
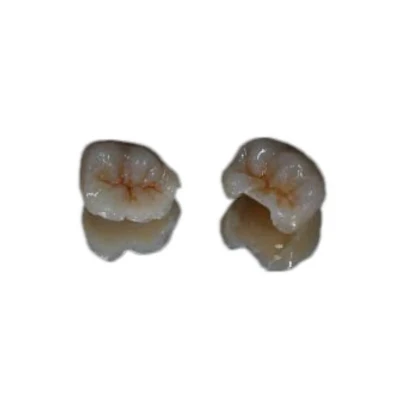
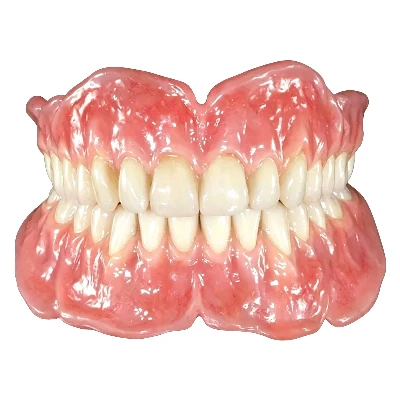


Learn how dental milling turns CAD designs into finished restorations, covering CAM nesting, materials, 5-axis milling, post-processing, accuracy, and QC.
Dental milling is a core manufacturing step in modern digital dentistry. A crown, bridge, veneer, implant restoration, or other prosthesis begins as digital data, moves through CAD design and CAM programming, and is then machined from a solid dental material. What comes out of the milling machine is still only part of the finished result. Sintering, crystallization, contouring, polishing, characterization, and quality control complete the workflow.
Understanding these stages makes it easier to evaluate how a digital dental laboratory actually produces consistent restorations.

What Is Dental Milling?
Dental milling is a subtractive manufacturing process used in CAD/CAM dentistry. Computer-controlled cutting tools remove material from a solid disc or block until the shape defined in the digital design has been reproduced physically.
Typical millable materials include zirconia, lithium disilicate and other ceramics, PMMA, PEEK, wax, and selected hybrid materials.
Three terms are especially important here:
- CAD - Computer-Aided Design: defines the restoration geometry.
- CAM - Computer-Aided Manufacturing: determines how that geometry will be manufactured.
- Dental milling: physically cuts the restoration from the selected material.
A dental milling machine therefore operates within a larger CAD/CAM dental workflow. Before machining starts, the restoration already depends on the quality of the scan, margin definition, anatomical design, material selection, and CAM strategy.
This is why milling accuracy should never be judged only by the machine itself.
From Digital Case Data to CAD Design
The workflow begins with usable digital case data. Depending on the laboratory and clinical setup, that data may come directly from a digital intraoral scanner or from a laboratory scanner used to digitize an impression or model.
Common digital files include STL and other formats compatible with dental CAD systems. For laboratories receiving digital cases from multiple scanner ecosystems, understanding STL file quality and submission requirements helps reduce avoidable design delays.
Before design begins, the case data needs to contain enough information to establish the preparation margins, adjacent teeth, occlusal relationship, and other relevant structures. Poor or incomplete input at this stage carries forward into every later manufacturing step.
Once the case is accepted, the dental technician or CAD designer builds the virtual restoration.
Important CAD parameters typically include:
- Margin line definition
- Occlusal anatomy
- Proximal contacts
- Emergence profile
- Minimum material thickness
- Cement space
- Connector dimensions for bridges
- Material-specific design requirements
For an implant restoration, the designer may also need to manage the emergence profile, screw-channel position, implant interface, or framework geometry.
The CAD stage is where clinical requirements become manufacturing geometry. If a margin is incorrectly defined or a connector is designed below the material's required thickness, better machining cannot fully correct the underlying design problem.
The quality of dental milling therefore begins before the milling machine starts.
CAM Programming and Nesting: Turning the Design Into a Milling Plan
Once the CAD design is approved, the file moves into CAM software. CAM translates the virtual restoration into instructions the milling machine can execute.
This stage receives less attention than CAD design, but it has a major influence on material use, machining efficiency, tool access, and the final surface produced by the mill.
What Is Dental Nesting?
Dental nesting is the process of positioning one or more digital restorations inside a virtual representation of a material disc or block before machining.
The CAM operator may adjust:
- Position within the disc or block
- Restoration angulation
- Sprue location and dimensions
- Distance between restorations
- Material thickness or disc height
- Access for milling tools
- Sintering compensation for zirconia
In a high-volume dental laboratory, good nesting also reduces unnecessary material waste. Multiple crowns or bridge units can be positioned efficiently within the same zirconia or PMMA disc while maintaining the space required for stable machining.
For zirconia, nesting must also account for what happens later during sintering. The restoration is milled in its pre-sintered state, so the digital manufacturing process compensates for the dimensional change that occurs during firing.
How CAM Software Creates Toolpaths
After nesting, the CAM software calculates the toolpaths.
A toolpath defines how the cutting tool will move around and through the material. Depending on the restoration and material, a machining strategy can include roughing, semi-finishing, and fine finishing passes.
CAM settings may control:
- Tool selection
- Cutting sequence
- Feed rate
- Spindle speed
- Axis movement
- Wet or dry machining mode
- Fine-detail machining around margins and anatomy
Simply put, CAD determines what the restoration should look like. CAM determines how the milling system will produce it.
How Dental Milling Machines Produce the Restoration
Once CAM programming is complete, the dental milling machine executes the calculated toolpaths. Rotating burs progressively remove material until the basic restoration geometry is produced.
Machine stability, tool condition, spindle performance, calibration, and axis control all influence the machining result.
Dry Milling vs Wet Milling
The appropriate milling method depends largely on the material and the milling system.
|
Milling method |
Typical applications and considerations |
|
Dry milling |
Common for pre-sintered zirconia, PMMA, and wax |
|
Wet milling |
Frequently used for selected glass ceramics and other materials that benefit from coolant during machining |
|
Final choice |
Depends on the material, milling equipment, and manufacturer's processing protocol |
Pre-sintered zirconia is commonly dry milled. Glass ceramics are often processed using wet milling or grinding systems, where coolant helps control heat and can reduce the risk of edge damage during machining.
There is no single milling strategy that fits every dental material.
4-Axis vs 5-Axis Dental Milling
Both 4-axis and 5-axis dental milling systems are widely used in laboratory production.
A 5-axis dental milling machine provides additional rotational freedom, allowing the cutting tools to approach a restoration from more directions. This becomes particularly useful when producing:
- Complex crown and bridge geometries
- Deep occlusal anatomy
- Certain undercut areas
- Implant restorations
- Implant bars
- Full-arch structures
Industrial dental milling systems can operate at machining tolerances measured in tens of microns. However, axis count and machine positioning accuracy should not be treated as the same thing as final clinical fit.
A well-designed restoration produced on a properly calibrated system can perform very differently from a poorly designed case milled on more advanced equipment.
The main advantage of 5-axis milling is greater geometric freedom.

Dental Milling Materials: Why the Material Changes the Workflow
Material selection affects clinical performance, machining strategy, and every post-processing step that follows.
A zirconia crown and a lithium disilicate veneer may both be produced with digital CAD/CAM technology, yet their manufacturing workflows are not identical.
Zirconia
Zirconia is one of the most widely milled materials in dental laboratories because it combines high strength with broad restorative applications.
Typical applications include:
- Posterior crowns
- Anterior crowns
- Multi-unit bridges
- Implant crowns
- Implant-supported restorations
- Full-arch prosthetic structures
Pre-sintered zirconia is relatively easy to machine compared with fully dense zirconia. After milling, the restoration undergoes high-temperature sintering to reach its final density, dimensions, and mechanical properties.
A CAD/CAM zirconia crown is a useful example of how digital design, CAM strategy, milling, sintering, and finishing come together in a common laboratory workflow.
Typical flexural strength ranges vary according to formulation:
|
Zirconia type |
Typical flexural strength |
|
3Y-TZP zirconia |
900–1,200 MPa |
|
High-translucency zirconia |
600–800 MPa |
The exact strength, translucency, sintering cycle, and indication depend on the specific zirconia system.
Lithium Disilicate and Glass Ceramics
Lithium disilicate is widely used for restorations where esthetics, translucency, and adhesive bonding are important.
Typical indications include:
- Veneers
- Inlays
- Onlays
- Anterior crowns
- Selected posterior crowns
Lithium disilicate materials commonly fall around 360–400 MPa in flexural strength, depending on the product and test method.
After machining, some lithium disilicate CAD/CAM materials require crystallization or a controlled firing cycle before final characterization and glazing.
This additional heat-treatment step is part of the material system and should be included when evaluating total production time.
PMMA, Hybrid Ceramics, PEEK, and Other Millable Materials
Digital dental laboratories also use milling for materials beyond conventional ceramics.
|
Material |
Typical strength range |
Common applications |
|
PMMA |
80–100 MPa |
Temporary restorations, provisionals, diagnostic prototypes |
|
Hybrid ceramic |
150–160 MPa |
Inlays, onlays, selected single-unit restorations |
|
PEEK |
140–170 MPa |
Selected frameworks and prosthetic structures |
PMMA is particularly easy to machine and useful for temporary or diagnostic applications. A CAD/CAM temporary crown and bridge is one practical example of where milled PMMA can fit into a digital restorative workflow.
PEEK provides a lightweight, metal-free option in selected prosthetic workflows. Wax can also be milled where a digital wax pattern is required.
Material selection therefore affects far more than the appearance of the restoration. It determines how the case is designed, milled, heat treated, finished, and ultimately used clinically.
What Happens After Milling?
A raw milled restoration normally requires additional processing before it is ready for delivery.
The first step is usually removal from the disc or block. Sprues are carefully separated while preserving margins and other delicate areas. Remaining dust, slurry, or machining debris is then removed.
From that point, the workflow depends on the material.
For zirconia, the sequence commonly looks like this:
Milling → Sprue Removal → Sintering → Contouring → Staining / Glazing → Polishing → QC
Dental zirconia typically undergoes high-temperature sintering. Depending on the zirconia system and manufacturer protocol, firing temperatures may fall around 1,350–1,550°C.
Lithium disilicate follows a different route:
Milling → Crystallization where required → Finishing → Characterization → Glazing or Polishing
PMMA and similar provisional materials generally require much less post-processing.
This stage is also where experienced dental technicians remain important. CAD/CAM equipment can reproduce precise geometry, while final contour, surface texture, shade transition, characterization, polishing, and occlusal refinement still depend on the finishing workflow and technician judgment.
A milled restoration is therefore not automatically a finished restoration.
What Determines the Accuracy of a Milled Dental Restoration?
Dental milling accuracy is the result of an entire manufacturing chain.
Several factors influence the final fit and consistency of a restoration:
- Digital scan quality
- Margin definition
- CAD design parameters
- Cement space
- CAM strategy
- Nesting position
- Milling bur condition
- Machine calibration
- Material behavior
- Sintering or crystallization
- Technician finishing
- Final quality control
This distinction matters because machine positioning accuracy and clinical restoration fit are related measurements, but they are not the same measurement.
For example, a milling machine may be capable of highly precise movement, yet inaccurate margin detection, worn tools, an unsuitable CAM strategy, or dimensional changes during post-processing can still affect the final result. Many zirconia crown fit problems can be traced to multiple stages rather than to a single manufacturing variable.
Before delivery, a dental laboratory should therefore inspect more than the visible surface.
Typical quality-control checkpoints include:
- Internal fit
- Margin adaptation
- Proximal contacts
- Occlusion
- Anatomical form
- Surface quality
- Shade and characterization
- Restoration integrity
For implant restorations, the implant interface, screw channel, emergence profile, and framework relationship may require additional checks.
Magnification-assisted inspection and consistent case tracking are particularly valuable in laboratories handling large case volumes.
The practical conclusion is clear: the accuracy of a milled dental restoration depends on the entire digital workflow, from scan data and CAD design through CAM, milling, post-processing, technician finishing, and final QC.

In-House Milling vs Outsourcing to a Digital Dental Laboratory
In-house milling can be a strong solution for clinics and laboratories with stable case volumes, trained staff, established CAD/CAM systems, and indications suited to their equipment.
Chairside systems are particularly useful for selected single-unit restorations and same-day workflows. Some chairside systems can mill suitable restorations in approximately 10–20 minutes, although this refers to selected machining workflows. Total treatment or laboratory production time also depends on design, material processing, crystallization or sintering, finishing, and clinical steps.
Outsourcing becomes practical when production requirements extend beyond the capacity or economics of an in-house setup.
Common situations include:
- Variable or rapidly growing case volume
- Complex multi-unit bridges
- Implant restorations
- Full-arch work
- Multiple material systems
- Need for 5-axis milling capability
- Limited CAM expertise
- Staffing or production-capacity constraints
A professional digital dental laboratory can also spread the cost of milling equipment, CAM software, maintenance, tools, furnaces, and specialized technicians across a much larger production base.
For dental laboratories, outsourcing does not necessarily mean transferring an entire case. CAD design, frameworks, zirconia milling, implant components, or other selected production stages can also be outsourced while the originating laboratory retains control over other parts of the case.
For laboratories evaluating this model, understanding the full dental lab outsourcing workflow helps clarify where digital files, manufacturing stages, technical communication, quality control, and delivery fit together.
That flexibility is often more useful than treating outsourcing as an all-or-nothing production decision.
From Digital Design to a Finished Restoration
Dental milling connects digital design with physical manufacturing, but the final result is shaped by much more than the cutting process itself. Accurate case data, sound CAD design, appropriate CAM programming, material-specific machining, correct post-processing, skilled finishing, and structured quality control all contribute to a restoration that is ready for clinical use.
ADS Dental Laboratory Ltd combines CAD/CAM design, dental milling, 3D printing, experienced technician finishing, and structured quality control for dentists and dental laboratories seeking reliable outsourced production. If you would like to discuss a specific restorative workflow or long-term dental lab outsourcing project, contact our team to review your case requirements.
FAQ
How long does dental milling take?
Some chairside systems can mill selected single-unit restorations in roughly 10–20 minutes. Laboratory production varies much more widely. Material, restoration size, number of units, CAM strategy, machine type, sintering, crystallization, and finishing all affect total turnaround.
Complex bridges, implant restorations, and full-arch cases require a substantially broader workflow than a single crown.
Is 5-axis dental milling more accurate than 4-axis milling?
Not automatically.
Five-axis milling provides greater freedom of movement and better access to complex surfaces and geometries. Final restoration accuracy still depends on CAD design, CAM strategy, machine calibration, tool condition, material processing, and quality control.
For simple geometries, additional axes do not automatically translate into a clinically meaningful improvement.
Does zirconia need to be sintered after milling?
Pre-sintered dental zirconia normally requires sintering after milling.
The firing cycle densifies the zirconia, brings the restoration to its intended final dimensions, and develops the material's final mechanical properties. The exact temperature and cycle should follow the zirconia manufacturer's protocol.
What is the difference between dental milling and 3D printing?
Dental milling is subtractive manufacturing: material is removed from a solid block or disc.
Dental 3D printing is additive manufacturing: the object is built layer by layer. The U.S. FDA provides additional background on 3D printing of medical devices and additive manufacturing processes.
Modern digital dental laboratories often use both technologies. Milling remains important for many zirconia, ceramic, PMMA, and prosthetic applications, while 3D printing is widely used for digital models, guides, selected provisional restorations, denture workflows, and other applications suited to additive manufacturing.
Can every dental restoration be milled?
No single manufacturing process is ideal for every restoration.
The appropriate method depends on the restoration type, material, geometry, clinical indication, esthetic requirements, and available manufacturing system. Modern laboratories therefore combine milling, 3D printing, traditional ceramic work, and technician finishing according to the needs of each case.