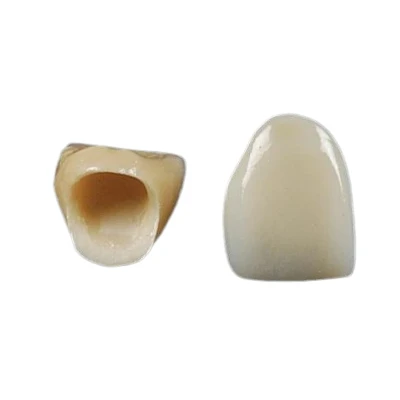
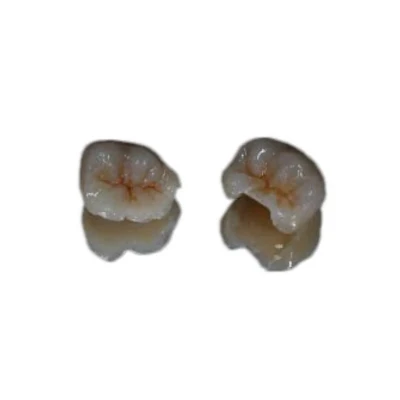



A dental restoration leaves the lab only after it clears a defined sequence of inspections. Skip one checkpoint and the case may ship with a marginal gap, a shade mismatch, or an occlusal interference that the dentist catches at try-in - by which point the remake cost, lost chair time, and damage to trust all land on the lab.
Effective dental lab quality control is therefore much more than a final inspection before shipping. It is a structured dental restoration inspection workflow that follows the case from prescription review and model verification through CAD design, manufacturing, aesthetic finishing, final fit, and release.
This article walks through the step-by-step dental lab QC process that helps a dental laboratory identify problems earlier, maintain restoration consistency, and reduce avoidable remakes.

Why Dental Lab Quality Control Needs a Structured Inspection Workflow
Quality control in a dental lab is not a final once-over before the parcel goes out. It is a sequence of stage-gated checks embedded across the production path - from case intake through die work, CAD design, milling or pressing, ceramic layering, and final characterization.
Each gate exists because defects introduced early compound downstream. A distorted die, for example, can produce a crown that will never seat correctly, no matter how precisely it is milled.
Dental lab quality control (QC) refers to the documented system of inspections, measurements, acceptance criteria, and quality records a laboratory applies to dental restorations before release. Dentists and outsourcing laboratories evaluating a partner should also understand the broader dental lab quality standards that support consistent production.
For laboratories operating within medical-device quality systems, ISO 13485:2016 provides an important framework for areas such as production control, traceability, non-conformance management, corrective actions, and quality documentation. Laboratories serving international markets must also consider applicable destination-market requirements, including the U.S. Quality Management System Regulation (QMSR), 21 CFR Part 820 and the European Union's Medical Device Regulation (MDR 2017/745).
A lab without a written, stage-gated inspection workflow relies heavily on individual technician judgment. That works until it doesn't - and in a B2B relationship where the dentist or outsourcing laboratory cannot inspect the work until it arrives, a missed problem can quickly become a remake cycle that costs both sides valuable time.
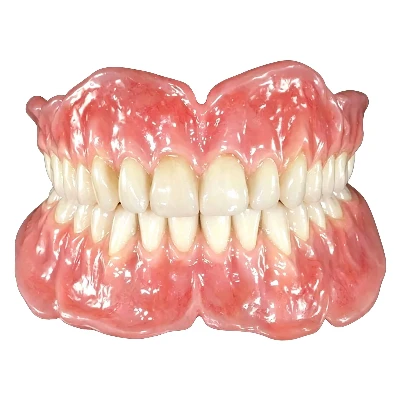
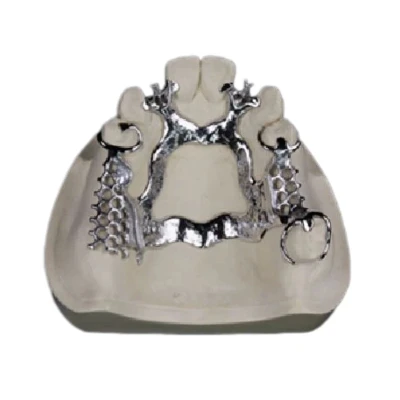
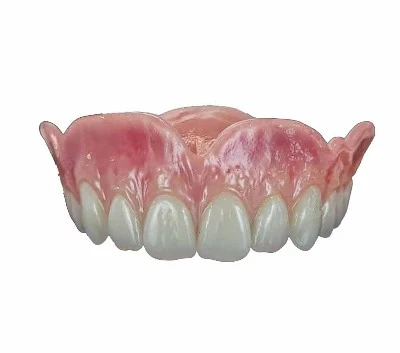
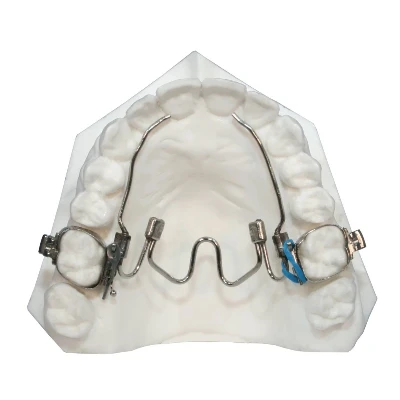
The workflow below assumes a fixed restoration such as a crown, bridge, veneer, or inlay/onlay produced through a digital CAD/CAM path. The same quality-control principles can also be applied, with appropriate adjustments, to implant restorations, full-arch prostheses, removable dentures, and orthodontic appliances.
Step 1: Case Intake and Prescription Verification
Every case begins with a work authorization or dental lab prescription specifying details such as tooth number, restoration type, material, shade, design requirements, margins, occlusal scheme, and patient-specific instructions.
The first inspection is therefore not of the restoration itself. It is an inspection of the information required to manufacture it correctly.
At case intake, the technician or case coordinator should confirm:
- Tooth notation matches across the prescription, physical model, and digital scan. FDI versus Universal numbering can become a source of error in cross-market cases.
- Shade information is complete, including stump shade, body shade, incisal shade, and any characterization requests when applicable.
- Margin information is clear, particularly for subgingival preparations where tissue management or scan clarity can affect the visible finish line.
- Bite registration or opposing arch data is present and usable.
- Special instructions such as implant platform, attachment type, material specifications, occlusion requirements, or guard thickness are explicit rather than assumed.
A case with ambiguous or missing information should be clarified before production begins. Chasing clarification may cost minutes; producing a restoration based on an assumption can cost an entire remake.
|
Intake Check |
What to Verify |
Common Failure |
|
Tooth notation |
FDI/Universal consistency across all documents |
Wrong tooth built |
|
Shade data |
Stump, body, and incisal shade recorded |
Shade mismatch |
|
Margin information |
Design type and margin depth |
Over- or under-extended margin |
|
Opposing arch |
Bite registration or scan present and usable |
Occlusal interference |
|
Special specifications |
Implant platform, attachment, material grade |
Incompatible components |
Intake verification is inexpensive compared with correcting a finished restoration. It is also one of the most effective defect-prevention stages in the entire dental lab workflow.
Step 2: Model and Die Inspection
Whether the laboratory works from a conventional impression poured in Type III or Type IV stone or from an intraoral scan rendered as a digital model, the model is the foundation of the restoration.
Every downstream measurement references it.
Conventional Models
A physical model should be inspected for:
- Die trim quality: The die should reproduce the entire preparation margin with no torn stone, bubbles at the margin, or unclear finish line. A die trimmed short of the true margin may produce a restoration with an open or inaccurate margin.
- Die ditch depth: The ditch below the margin should expose the finish line without undermining the die stump. Over-ditching weakens the die, while under-ditching can hide the margin during scanning or wax-up.
- Model integrity: The model should be free from fractures and obvious distortion, with stable articulation where applicable.
Digital Models
A digital model created from an intraoral scan should be inspected for:
- Scan completeness: All relevant surfaces should be captured, including the preparation margin and the interproximal and occlusal anatomy of adjacent teeth.
- Margin sharpness: The finish line must be digitally identifiable. A scan that loses margin detail because of blood, saliva, poor tissue displacement, or incomplete scanning cannot be fully corrected later in the workflow.
- Scan artifacts: Stitching errors, floating data islands, inverted surfaces, or missing data may interfere with accurate CAD design.
The margin is one of the most critical features of the model. If it is not clean, sharp, and complete - physically or digitally - the case should be reviewed before proceeding.
No amount of CAD design skill can completely rescue a model whose preparation margin is unreadable.
Step 3: CAD Design Verification
In a digital dental lab workflow, the CAD stage determines fit, contour, occlusion, and much of the final anatomy before a restoration is milled or otherwise manufactured.
CAD, or Computer-Aided Design, uses specialized dental design software to define the restoration's internal fit, external morphology, proximal contacts, and occlusal relationship on a digital model. For a broader view of how these stages connect, see the complete CAD/CAM dental workflow from scan and design through manufacturing and finishing.
A proper dental restoration quality control process should verify four major design parameters.
Marginal Adaptation
The digital restoration margin should trace the preparation finish line with an appropriate cement gap.
For many cemented restorations, a marginal gap target may fall roughly within the 30 to 80 micron range, although the exact target depends on material, luting agent, preparation design, and clinician preference. Gaps above approximately 120 microns may increase the risk of microleakage, cement washout, and secondary caries.
Internal Fit
The internal surface should provide enough relief to allow the restoration to seat completely without excessive binding on axial walls.
A restoration designed too tightly may bind before full seating. One designed too loosely may rock or compromise the intended marginal relationship.
Occlusal Scheme
The designed occlusion should match the prescribed functional scheme, whether mutually protected, canine-guided, group function, or another requested approach.
Contacts should be evaluated in the relevant centric position and, where appropriate, during excursive movements.
An over-built occlusion increases the need for chairside adjustment. An under-built occlusion may leave insufficient functional contact.
Proximal Contacts
Proximal contacts should be present without preventing complete seating.
A contact that is too tight can block seating, while one that is too light may contribute to food impaction and clinical dissatisfaction.
|
Design Parameter |
Target |
Failure Mode |
|
Marginal gap |
~30–80 µm, material-dependent |
Microleakage, secondary caries |
|
Internal fit |
Full seating without axial binding |
Rocking or incomplete seating |
|
Occlusal contacts |
Prescribed scheme with stable contacts |
Premature contact or insufficient contact |
|
Proximal contact |
Controlled contact allowing clinical function |
Open or excessively tight contact |
Design sign-off is a quality-control checkpoint, not a formality.
The technician or designer approving the restoration is often the last person who can correct fit, contour, or occlusion before manufacturing begins. Once material has been milled, pressed, or sintered, corrections become more expensive and time-consuming.

Step 4: Milling, Pressing, and Sintering Inspection
The physical restoration may be produced through several subtractive or formative manufacturing processes. Each manufacturing method introduces different failure modes and therefore requires different inspection points.
Milled Restorations
For zirconia, lithium disilicate, hybrid ceramics, and other milled materials, CAD/CAM dental lab quality control should include:
- Tool wear and surface finish: Dull or worn burs can leave rough surfaces and chipped margins, particularly on thin restoration edges. Tool life should therefore be monitored and bur replacement controlled.
- Margin integrity after milling: The milled margin should be inspected under magnification for chips, tears, incomplete cuts, or other defects.
- Sintering shrinkage accuracy: Zirconia shrinks by roughly 20 to 25 percent during sintering. CAD/CAM systems compensate for this shrinkage, but final dimensions should still be evaluated after firing. Sintering temperature, hold time, and ramp rate should be controlled according to the material and furnace protocol.
These checkpoints are particularly relevant when producing a CAD/CAM zirconia crown, where digital design accuracy, milling quality, margin integrity, and sintering control all affect final fit.
A significantly chipped restoration margin should not simply be polished until the defect appears less visible. If the defect compromises fit or integrity, the appropriate action is a controlled remake.
Pressed Restorations
Pressed ceramics such as lithium disilicate or leucite-reinforced glass ceramics typically use a lost-wax or digitally assisted wax-up process.
Inspection should include:
- Investment burnout completeness.
- Pressing voids or surface nodules.
- Defects around the sprue attachment area.
- Dimensional accuracy after pressing.
- Restoration seating on the die or working model before ceramic layering begins.
Incomplete burnout can leave investment debris in the mold and lead to surface defects, while pressing irregularities may alter fit or morphology. The same inspection principles apply to a pressed E.max crown, where fit and dimensional accuracy should be confirmed before final aesthetic finishing.
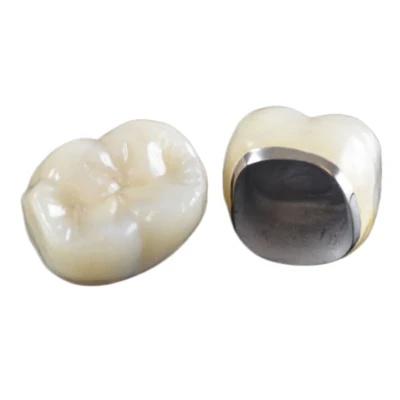
PFM Restorations
Porcelain-fused-to-metal restorations combine a metal coping or framework with layered ceramic.
Quality inspection should include:
- Coping fit.
- Metal framework design.
- Connector dimensions for bridgework.
- Opaque coverage.
- Porcelain-to-metal bond integrity.
- Margin integrity.
A manufacturing defect found during production is a controlled internal correction. The same defect discovered during clinical try-in becomes a remake, a delay, and potentially a loss of confidence in the dental laboratory.
Step 5: Ceramic Layering, Shade, and Aesthetic Inspection
For layered restorations, much of the final aesthetic result develops through multiple ceramic stages involving dentin, enamel, translucency zones, staining, characterization, and glazing.
Each firing cycle introduces the possibility of distortion, shade shift, surface changes, or bubble formation.
The dental restoration inspection at this stage should evaluate several areas.
Shade Match
The restoration should be compared with the prescribed shade under standardized lighting conditions.
Assessment should consider:
- Value or brightness.
- Hue.
- Chroma.
- Stump shade where relevant.
- Provided clinical photographs.
- Digital shade maps.
- Requested incisal or cervical characterization.
D65 daylight simulation is commonly used as a reference environment for dental shade evaluation.
Surface Texture and Lustre
The surface should reproduce the texture expected from natural enamel and match the intended clinical situation.
An excessively glazed restoration can appear artificial or plastic. Insufficient surface texture can also make an otherwise well-shaped restoration appear flat.
Translucency Gradient
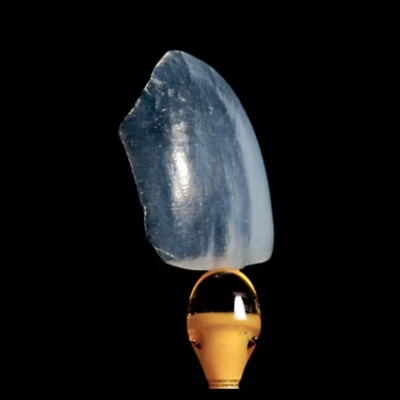
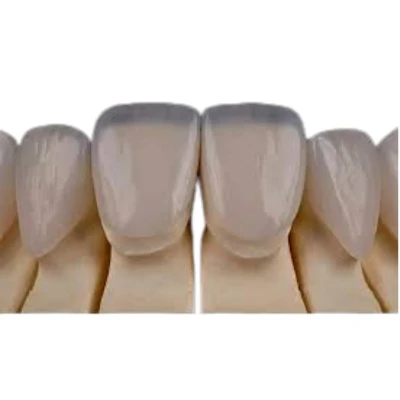
Anterior and aesthetic restorations, including many dental veneers, should reproduce natural transitions rather than appearing as a uniform block of material.
Incisal translucency, internal effects, and mamelon structure may need to be adjusted according to the prescription and adjacent dentition.
Characterization
Any requested internal stains, crack lines, cervical effects, incisal effects, or age-appropriate wear patterns should be applied carefully and remain consistent with the clinical reference.
Shade mismatch is a common reason for rejection of an otherwise well-fitting aesthetic restoration. Correcting the shade before release is far less disruptive than remaking the restoration after it reaches the clinic.
Step 6: Final Fit, Contact, and Occlusion Inspection
Before a restoration leaves the production bench, it should receive a final physical verification on the die, model, or appropriate working system.
This is one of the most important stages of dental lab quality assurance because it evaluates whether the completed restoration meets the essential functional requirements of the case.
Marginal Fit
The restoration is seated and the margin inspected under magnification for:
- Open margins.
- Overhangs.
- Short margins.
- Seating discrepancies.
- Visible chips or irregularities.
A probe or other appropriate inspection method may be used to identify discrepancies at the margin-to-preparation junction. For a closer look at this inspection method, see why magnification matters in dental laboratory quality control.
Occlusion
The restoration is articulated and checked in the prescribed occlusal relationship.
Articulating film and other verification methods can help identify:
- Premature contacts.
- Excessive contacts.
- Non-contacts.
- Excursive interference.
The laboratory should adjust obvious discrepancies within its production tolerances while recognizing that the clinician makes the final intraoral assessment.
A restoration shipped with a gross occlusal discrepancy creates unnecessary chairside adjustment and increases the risk of a remake.
Proximal Contacts
Contact tightness should be checked using an appropriate contact-verification method such as shim stock or a suitable digital equivalent.
A contact that is excessively tight may prevent seating, while an open contact may compromise function.
Passive Seating
For multi-unit restorations and implant frameworks, passive seating is particularly important.
The restoration should seat without:
- Rocking.
- Forced placement.
- Visible strain.
- Unwanted tension on implant components or abutments.
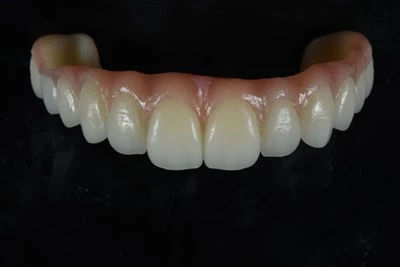
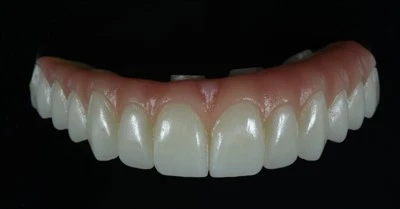
This becomes especially important in complex full-arch restorations such as an All-on-X zirconia bridge, where framework fit and passive seating must be carefully evaluated before release.
A non-passive framework placed under tension may contribute to mechanical or clinical complications.
The final fit inspection is where many aspects of the earlier dental lab QC process come together. A restoration that seats cleanly, contacts appropriately, and occludes within the intended tolerance is much more likely to reach the dentist as a finished restoration rather than an additional chairside project.
Step 7: Packaging, Documentation, and Case Traceability
The last inspection stage is administrative as well as technical.
Before release, the case documentation should confirm that the finished restoration corresponds with the prescription and required records.
Depending on the restoration and destination market, documentation may include:
- Patient or case identifiers matching the prescription.
- Dentist or laboratory account information.
- Restoration and material information.
- Material lot traceability where applicable.
- Relevant quality or compliance documentation.
- Shade and design information.
- Implant component information when applicable.
- Case-specific production or inspection records.
Material and case traceability are important parts of a structured dental laboratory quality-management system.
If a material lot, component, or production issue must later be investigated, the laboratory should be able to trace which cases were affected rather than relying on memory or manual guesswork.
For custom-made dental devices supplied to European customers, the appropriate documentation should be maintained in accordance with applicable EU requirements. For products supplied to the United States, laboratories should also consider applicable dental-device classifications and requirements under 21 CFR Part 872 – Dental Devices.
Effective traceability connects the restoration to its materials, production stages, technicians, and quality-control records.

Common Dental Lab Quality Problems and How to Prevent Them
|
Failure |
Stage Caught |
Root Cause |
Prevention |
|
Open margin |
Final fit / try-in |
Dirty, damaged, or unclear die margin |
Model and die inspection |
|
Shade mismatch |
Aesthetic QC / try-in |
Inadequate shade information at intake |
Complete shade prescription |
|
Occlusal interference |
Final fit / try-in |
Missing or distorted opposing arch |
Opposing scan or bite check |
|
Chipped zirconia margin |
Post-milling |
Tool wear or aggressive milling |
Tool-life monitoring and post-mill inspection |
|
Non-passive framework |
Final fit |
Scan distortion or design error |
Passive seating verification |
|
Wrong tooth built |
Intake |
Tooth-notation mismatch |
Prescription verification |
The pattern is consistent: many clinical failures can be traced back to a defect that could have been identified earlier in a stage-gated inspection workflow.
The value of dental laboratory quality control is not simply finding defects at the end. It is preventing those defects from moving into the next production stage. A related practical objective is to reduce remakes in dental restorations by identifying recurring causes before they reach the clinical stage.
How Dental Labs Maintain Consistent QC in Daily Production
A written dental lab inspection workflow is necessary, but documentation alone does not create consistent quality.
The real difference is whether technicians and quality-control staff execute each checkpoint consistently.
Three practices are particularly important.
First, inspection criteria should be as objective and measurable as practical. A defined marginal tolerance, shade reference, contact-verification method, or inspection standard provides more consistency than simply deciding that a restoration "looks good."
Second, important production and quality-control stages should be traceable. If a defect escapes inspection, the laboratory should be able to identify the relevant production stage and investigate how the problem occurred.
Third, remakes should be reviewed for root cause rather than simply reproduced. If the same type of failure repeatedly occurs, the issue may involve the workflow, communication, design process, equipment, material handling, or inspection criteria rather than a single technician or material.
At ADS Dental Laboratory Ltd, the quality-control process includes production-stage case tracking, technician traceability, magnification-assisted inspection, margin inspection, contact inspection, occlusal inspection, shade and aesthetic inspection, and final QC. Digital case management is combined with technician evaluation because manufacturing precision alone does not replace experienced dental craftsmanship.
ADS also maintains an ISO 13485-certified quality-management system. For readers evaluating regulatory and quality credentials, our guide to dental lab certifications and ISO 13485 explains the role of quality-system certification, FDA registration, and related compliance frameworks.
For long-term outsourcing relationships, production consistency is especially important. Maintaining traceable case information and, where production arrangements allow, relatively stable technician or production teams can also help improve continuity across repeat cases.
For dentists and dental laboratories evaluating a B2B outsourcing partner, the important question is therefore not simply whether a laboratory says it has quality control. The more useful questions are how the inspections are structured, what is checked at each stage, how defects are documented, and whether production issues can be traced back through the workflow.
Conclusion
Effective dental lab quality control is a step-by-step inspection workflow that begins before manufacturing and continues through model or scan verification, CAD design, production, aesthetic finishing, margin and contact inspection, occlusal verification, final QC, documentation, and traceability. The purpose is not simply to catch defects before shipping, but to identify problems as early as possible so they do not propagate into later production stages, chairside adjustments, or avoidable remakes.
ADS Dental Laboratory Ltd is a full-service digital dental laboratory in Shenzhen, China, specializing in long-term dental lab outsourcing for overseas dentists and dental laboratories. Our structured quality-control system combines digital case tracking, technician traceability, magnification-assisted inspection, functional and aesthetic QC, and an ISO 13485-certified quality-management framework. Contact us to discuss your restoration requirements, outsourcing workflow, or a specific case.
FAQ
What is dental lab quality control?
Dental lab quality control is the structured process used to inspect dental restorations throughout production rather than relying only on a final check before shipping. It can include prescription review, model or scan inspection, CAD design verification, manufacturing inspection, margin and contact checks, occlusal inspection, shade evaluation, final QC, documentation, and case traceability.
What should be inspected before a dental crown leaves the laboratory?
Before release, a dental crown should typically be checked for complete seating, marginal fit, proximal contacts, occlusion, anatomy, surface finish, shade, and overall restoration integrity. The case information, material details, and prescription should also be verified before packaging.
How can dental lab quality control reduce remakes?
A stage-gated dental lab QC workflow helps identify problems closer to the point where they are introduced. Detecting incomplete scan data, unclear margins, design errors, manufacturing defects, shade discrepancies, or occlusal problems before the restoration leaves the laboratory reduces the likelihood that those issues will only be discovered during clinical try-in.
Why is case traceability important in a dental laboratory?
Case traceability allows the laboratory to connect a restoration with relevant production stages, materials, technicians, and quality records. This makes it easier to investigate non-conformances, review recurring problems, manage corrective actions, and maintain quality consistency across long-term outsourcing relationships.
Does ISO 13485 certification guarantee that every dental restoration will be perfect?
No quality-management certification can guarantee that every individual restoration will be free from defects. ISO 13485 provides a structured quality-management framework covering areas such as production control, documentation, traceability, non-conformance management, corrective actions, and quality records. Consistent restoration quality still depends on how effectively those processes are implemented in daily production.