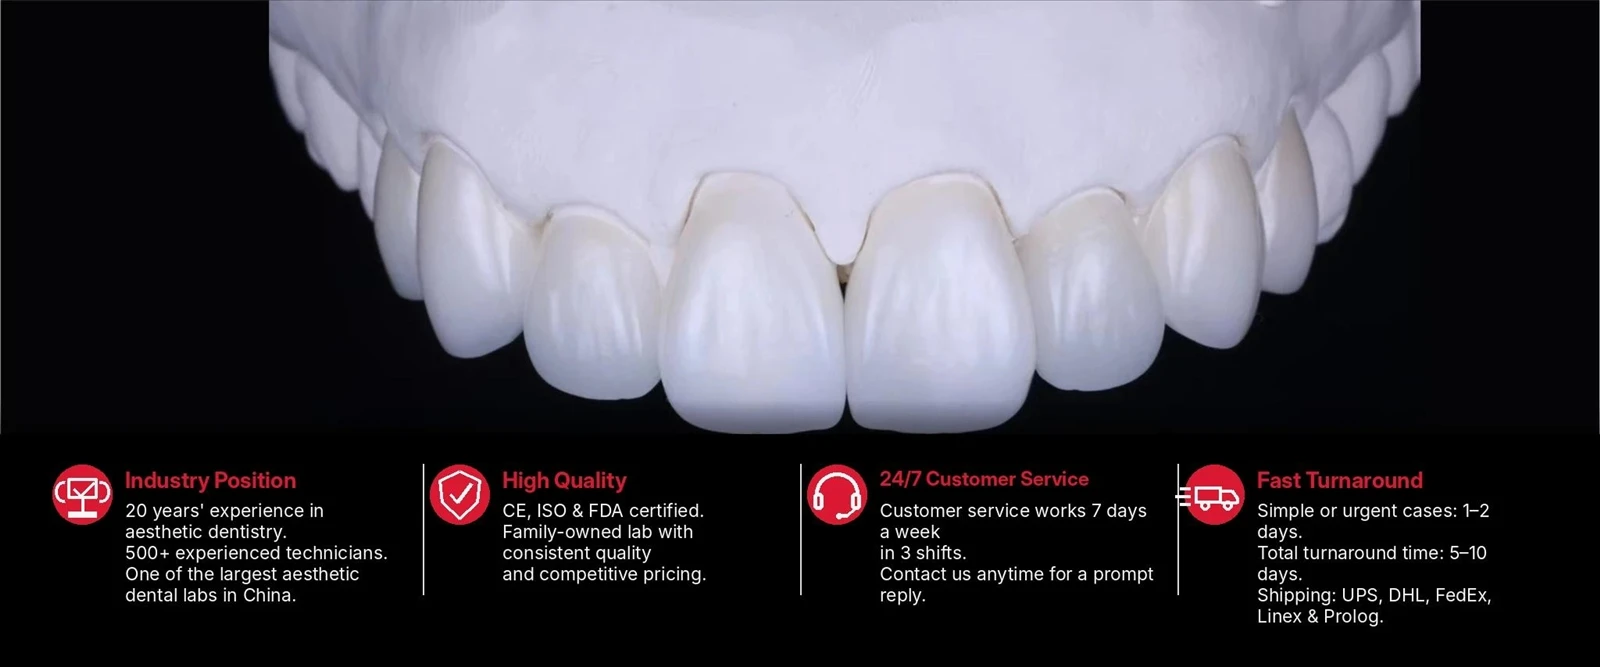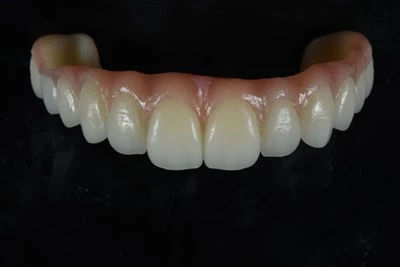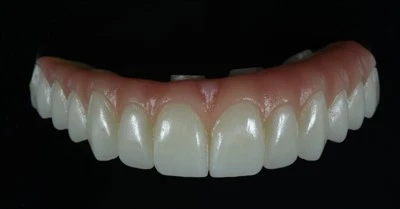
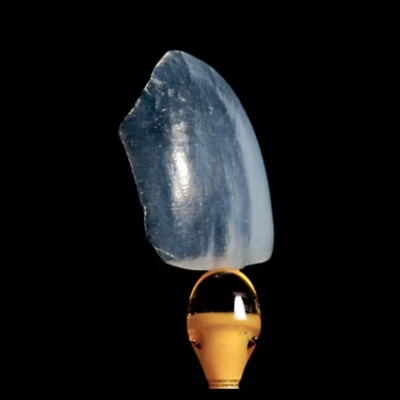
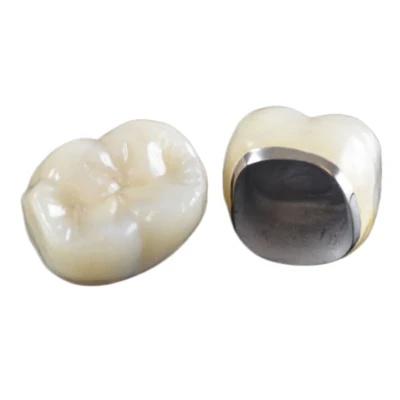
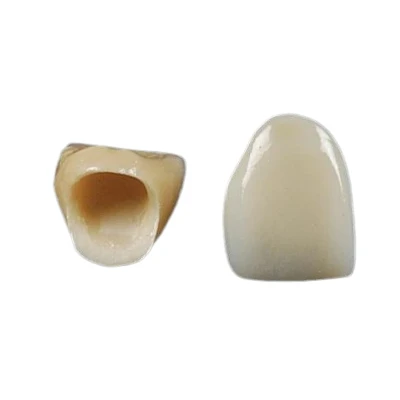
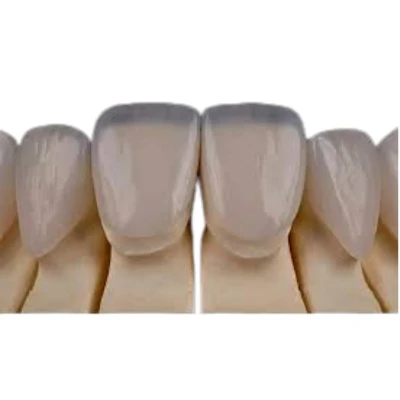

Dental veneers have come a long way from the days of hand-stacked feldspathic porcelain on platinum foil. Today, CAD/CAM - computer-aided design and computer-aided manufacturing - has become an important production method for high-quality ceramic veneers, using precision scanning, software-driven design and subtractive milling to create predictable restorations within a digital veneer workflow.
For dental laboratories and clinics that outsource veneer production, understanding what actually happens inside that CAD/CAM dental workflow matters. It is the difference between a veneer that seats passively, blends naturally with adjacent dentition and performs predictably - and one that comes back with an open margin, a mismatched shade or a micro-crack that fails at delivery.
This article walks through the three pillars of CAD/CAM veneer fabrication: digital veneer design, ceramic veneer milling and crystallization, and the quality control checkpoints that separate a clinically acceptable restoration from a reject.
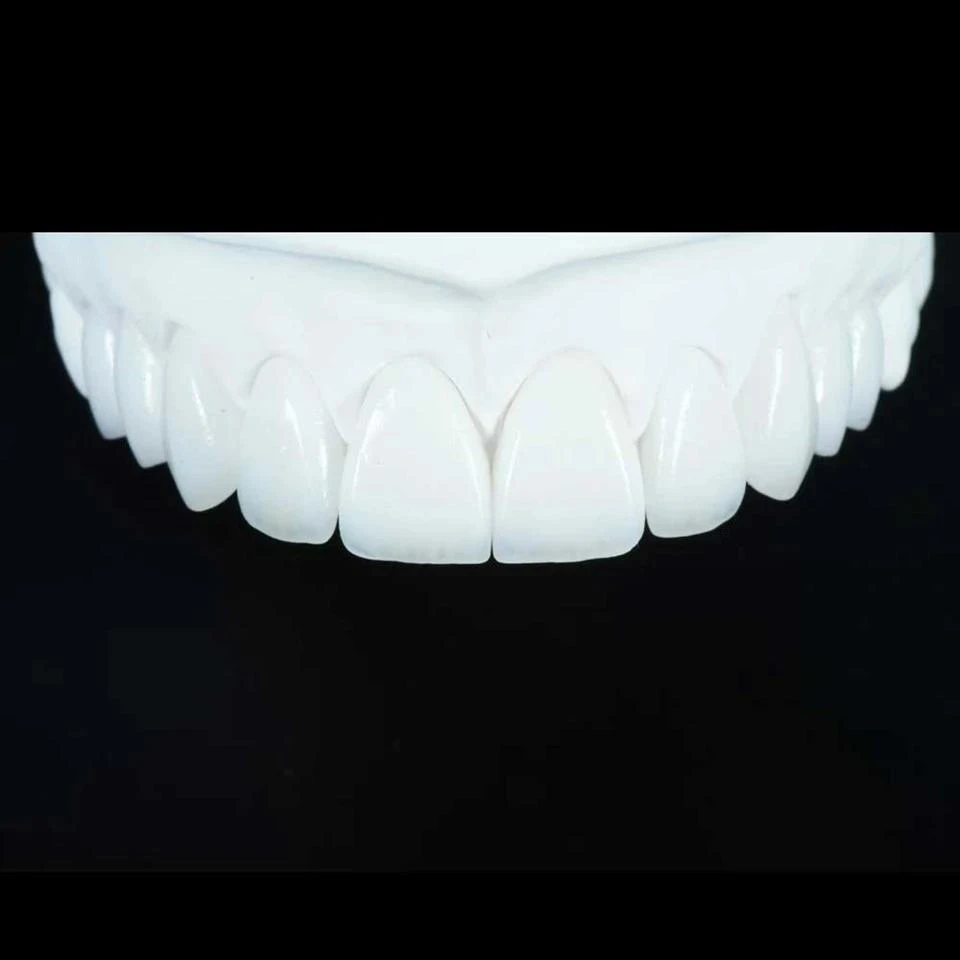
Why CAD/CAM Changed Veneer Production
Before CAD/CAM, a veneer was commonly built through technician-intensive processes involving wax patterns, investing, pressing or ceramic layering, followed by characterization with surface stains and glaze. Every step depended heavily on individual technique, and results could vary from case to case even within the same dental laboratory.
CAD/CAM shifted much of the workflow toward a subtractive digital manufacturing model. A prefabricated ceramic block manufactured under controlled industrial conditions is milled according to a digitally designed veneer geometry and then processed to achieve its final mechanical and optical properties.
The practical gains can be significant:
|
Metric |
Traditional Pressed Veneer |
CAD/CAM Milled Veneer |
|
Marginal gap |
60–120 μm (technique-dependent) |
20–60 μm (machine-controlled) |
|
Single-veneer production time |
45–90 min hands-on |
15–25 min machine time |
|
Material homogeneity |
Batch variation in pressing |
Industrial-grade block consistency |
|
Shade reproducibility |
Dependent on layering and stain technique |
Pre-shaded block + surface characterization |
The marginal gap figures deserve a note: ISO 12836 specifies accuracy testing methods for digitizing devices used in dental CAD/CAM, and well-calibrated intraoral scanners can routinely achieve high levels of trueness under clinical conditions. A milled veneer can benefit from that digital precision only when the scan, CAD design, CAM strategy and finishing steps are all executed correctly.
This is an important distinction. CAD/CAM does not automatically create a high-quality veneer. It creates a highly repeatable way to reproduce the design it is given. An accurately milled restoration can still be the wrong restoration if the clinical input or CAD design is incorrect.
How CAD/CAM Veneers Are Designed
From Scan to Digital Model
The CAD/CAM veneer workflow begins with a digital impression. Whether captured chairside with a digital intraoral scanner or generated from a conventional impression poured in stone and then scanned with a laboratory scanner, the output provides the three-dimensional data needed to represent the prepared tooth, adjacent teeth and opposing arch.
A few design-stage fundamentals determine whether the final veneer will fit.
Margin clarity. The preparation margin must be visible and clean in the scan. A subgingival margin that was not retracted properly during scanning can produce an ambiguous finish line, forcing the software or technician to estimate the margin location. For veneers, a chamfer or light shoulder finish line placed at or just supragingival is generally easier to capture digitally.
Preparation geometry. Veneer preparations typically remove 0.3–0.7 mm of enamel on the facial surface, with preparation depth varying according to the restorative plan. The digital data should clearly capture the facial reduction, proximal extension where applicable, and the incisal preparation.
The scan is therefore not simply an input file. It represents the first quality-control checkpoint in the entire digital veneer workflow. Missing or ambiguous information introduced here will propagate into later stages.
Designing the Veneer in CAD Software
Once the digital model is ready, the technician uses professional dental CAD software to design the veneer. The most important decisions include:
Insertion path. The software calculates an insertion axis. For a single veneer, this is usually relatively straightforward. For multiple adjacent veneers, compatible insertion paths become more important because restorations that bind against one another can prevent complete seating during try-in.
Cement gap. A virtual cement film is applied to the intaglio surface - typically 50–80 μm starting 0.5–1.0 mm from the margin. Too tight and the veneer may not seat fully; too loose and an excessive resin cement layer may affect marginal integrity and optical behavior. The gap setting also interacts with milling bur geometry because a cutting tool cannot reproduce internal detail smaller than its own effective radius.
Contact points. Adjacent tooth data is used to establish proximal contacts. Contact strength must be controlled carefully so that the veneer is neither over-contoured nor left with an open contact.
Incisal edge position and length. For anterior veneers, incisal edge position is one of the main aesthetic and functional determinants. Digital design allows the technician to evaluate edge length and inclination relative to adjacent teeth and the opposing dentition.
Surface morphology. Digital tooth libraries can provide a starting morphology, but natural anterior restorations rarely come from using a library shape unchanged. Lobes, developmental grooves, facial contour, line angles and surface texture must be adapted to the patient's dentition and aesthetic prescription.
This is where CAD/CAM veneer design still depends heavily on dental technician judgment. Software can produce mathematically acceptable tooth geometry, but it cannot independently decide which morphology will look natural for a particular patient.
For this reason, quality control should begin before milling. Information such as restoration type, material, shade, stump shade, incisal characterization, margin design, contacts and occlusion should already be clear before the technician finalizes the CAD design.
Material Selection at the Design Stage
CAD parameters are partly dictated by the chosen ceramic because different materials have different minimum thickness, optical and mechanical requirements.
|
Material |
Typical CAD/CAM Form |
Flexural Strength |
Min. Veneer Thickness |
Translucency |
|
Lithium disilicate glass-ceramic |
Lithium disilicate CAD block |
~360–450 MPa |
0.4–0.5 mm |
High |
|
Zirconia-reinforced lithium silicate |
ZLS CAD block |
~370–420 MPa |
0.4–0.5 mm |
Medium-high |
|
Feldspathic ceramic |
Feldspathic CAD block |
~120–150 MPa |
0.6–0.8 mm |
Very high |
|
Translucent zirconia (4Y/5Y-PSZ) |
Translucent zirconia block |
570–800 MPa |
0.3–0.5 mm |
Medium |
The flexural strength values above are measured according to ISO 6872, the international standard for dental ceramic materials.
Lithium disilicate veneers are widely used in anterior aesthetic cases because lithium disilicate combines favorable optical characteristics with mechanical properties suitable for many veneer indications. Feldspathic ceramics offer high translucency but have different strength and thickness considerations. Translucent zirconia offers greater strength but different optical characteristics and bonding requirements.
Material selection should therefore occur during design rather than after the restoration geometry has already been finalized.
The software should evaluate the veneer against the selected material's minimum thickness requirements. If the available restorative space creates an area below the recommended thickness, the issue needs to be recognized before milling rather than discovered after manufacturing.
For cases produced through a fully digital route, digital E.max veneers illustrate how material selection, digital design and milling parameters have to be coordinated rather than treated as separate production decisions.
How CAD/CAM Veneers Are Milled and Crystallized
Veneer Milling
CAD/CAM dental mills commonly use multi-axis machining to reproduce both the external morphology and complex intaglio surface of a veneer.
The veneer milling process generally uses different cutting tools for roughing and finishing.
A coarse diamond bur removes the bulk of the ceramic material and establishes the main restoration geometry. A fine diamond bur then refines the surface, margins and intaglio detail. CAM software calculates tool paths to balance manufacturing speed with surface quality and dimensional accuracy.
Tool condition is particularly important with thin ceramic restorations. Worn burs, inappropriate milling parameters or excessive machining stress can contribute to surface defects, marginal chipping and micro-cracks.
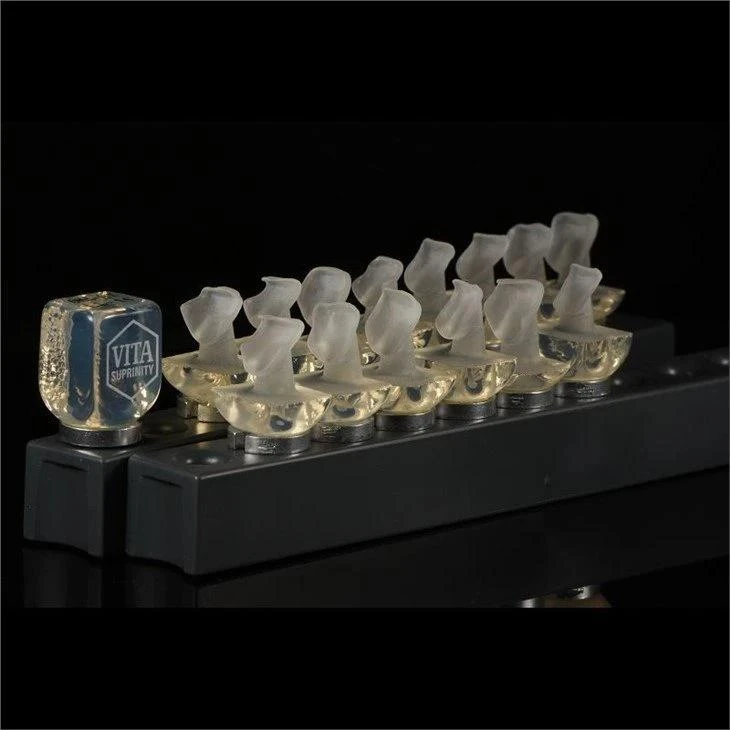
For partially crystallized lithium disilicate CAD materials, milling is performed in a softer intermediate state that is easier to machine. The restoration then undergoes a controlled crystallization firing to develop its intended mechanical and optical properties.
A useful principle for dental laboratories is that machine precision and restoration quality are not the same thing. The milling unit provides repeatability, but the result still depends on the scan, CAD parameters, CAM strategy, tool condition, ceramic selection and technician finishing.
Crystallization
After milling, the veneer enters a ceramic furnace for crystallization. For lithium disilicate, this typically involves a programmed firing cycle reaching approximately 840–850 °C with controlled heating and cooling.
During this process, the ceramic develops its final crystal structure, strength, translucency and tooth-colored appearance.
The final shade is influenced strongly by the selected block, but firing control remains important. Excessive or insufficient firing can influence optical and mechanical properties.
One quality consideration is that crystallization may produce a measurable change in marginal adaptation. Research has reported lithium disilicate CAD marginal gaps increasing from approximately 43 μm before crystallization to 57 μm afterward. Although this remains within commonly accepted clinical ranges, it demonstrates why CAD/CAM veneer quality control must evaluate the restoration after processing, not only in its milled state.
Surface Characterization and Glazing
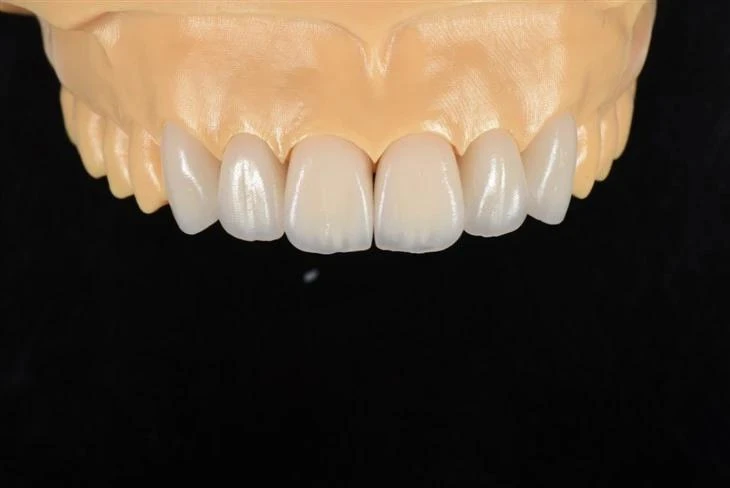
After crystallization, a CAD/CAM veneer may have the correct basic form, strength and shade, but still lack the individualized details needed to blend naturally with adjacent dentition.
The final aesthetic stages typically include staining and glazing dental ceramics.
Staining. Ceramic stains can be applied selectively to cervical, body and incisal zones to modify value, chroma, translucency and characterization.
Glazing. A thin glaze layer is fired to produce the final surface luster and seal the characterized ceramic surface.
Depending on the case and production method, technicians may also refine:
- Surface texture
- Facial contour
- Line angles
- Shade transition
- Incisal characterization
- Translucency
- Margin finishing
- Final morphology
This is why CAD/CAM does not remove the dental technician from veneer production - it changes where craftsmanship adds value.
Digital manufacturing is highly effective at repeatable geometry and dimensional control. Experienced technicians remain essential for optical judgment, morphology, texture and final aesthetic refinement.
For laboratories that outsource aesthetic veneers, this finishing stage is often where the outsourcing partner's experience becomes most visible. A precisely milled veneer may fit well, but it still needs the appropriate morphology, shade transition, translucency and surface texture to integrate naturally with the smile.
CAD/CAM Veneer Quality Control Checkpoints
Quality control in CAD/CAM veneer production should not be a single inspection performed at the end of the production line. It is a series of checkpoints distributed across the digital workflow.
Each checkpoint detects a different category of defect. When an error is missed early, it usually becomes more difficult and more expensive to correct at the next stage.
A practical principle is:
Quality control starts with the clinical information and digital data, not when the veneer comes off the milling machine.
Checkpoint 1: Scan Validation
Before CAD design begins, the digital impression should be checked for:
|
Check |
What to Look For |
Consequence if Missed |
|
Margin clarity |
Is the finish line sharp and unambiguous? |
Incorrect margin interpretation → open or overextended cervical fit |
|
Soft tissue interference |
Is gingiva retracted away from the margin? |
Margin hidden → manual tracing error |
|
Adjacent tooth capture |
Are proximal contacts fully scanned? |
Incorrect contact design → food impaction or open contact |
|
Occlusal registration |
Is the bite record complete? |
Incorrect incisal length → occlusal interference |
|
Scan completeness |
Any holes, voids or artifacts? |
Missing surface data → design based on incomplete geometry |
A scan that fails critical checks should normally be clarified or rescanned rather than reconstructed through assumptions in software.
Software can interpolate missing data, but an interpolated surface does not represent the actual preparation. For a more detailed clinical-to-laboratory perspective, see the intraoral scan requirements for dental labs.
Checkpoint 2: Design Review
Once the CAD/CAM veneer design is complete, it should be reviewed before milling data is generated.
Thickness verification. CAD software can display a thickness map across the restoration. Areas below the selected ceramic's minimum thickness should be identified and addressed before manufacturing.
Margin adaptation. The cervical margin should be compared carefully with the finish line visible in the scan. The restoration should follow the prescribed preparation margin without obvious gaps or overextension.
Path of insertion. Digital simulation can identify areas that could prevent passive seating.
Contacts and contour. Proximal contact strength, facial contour and emergence should be evaluated before milling.
Occlusion. Incisal position and restoration thickness should be evaluated against the opposing dentition and available occlusal clearance.
This checkpoint reinforces an important point: CAM can reproduce a CAD design accurately, but it cannot correct an inappropriate CAD design.
Checkpoint 3: Post-Milling Inspection
After the veneer comes off the mill and before final processing, it should be inspected for manufacturing defects.
Marginal integrity. Under magnification, the margin is checked for chips, irregularities or other defects. Magnification in dental laboratory quality control is particularly useful because fine marginal defects and micro-cracks may be difficult to identify reliably with unaided visual inspection.
Surface defects. The intaglio and external surfaces are checked for milling artifacts, bur marks, step lines or areas that were not fully machined.
Dimensional accuracy. When a physical or printed model is available, the restoration can be evaluated against the die or model before subsequent firing.
This provides an opportunity to detect manufacturing problems before additional processing is completed.
Checkpoint 4: Post-Crystallization and Post-Glaze Inspection
After crystallization, characterization and glazing, the veneer undergoes final functional and aesthetic evaluation.
Fit verification. On the model, the veneer is evaluated for:
- Marginal seal - no visible marginal discrepancy
- Proximal contacts - appropriate resistance with adjacent teeth
- Occlusion - no premature contact or unwanted interference
- Seating - complete, passive seating without rocking or binding
Aesthetic evaluation. Under controlled lighting, the veneer can be assessed for:
- Hue and value - consistency with the prescribed shade
- Translucency - appropriate optical behavior, particularly in the incisal area
- Surface texture and luster - natural rather than uniformly flat or over-glazed
- Characterization - appropriate cervical, body and incisal transitions
- Morphology - harmony with adjacent teeth
- Integration - whether the restoration blends naturally rather than appearing isolated
The distinction between manufacturing accuracy and aesthetic quality is important.
Margin, fit, contact and geometry indicate whether the restoration was manufactured precisely. Translucency, texture, shade transition, characterization and morphology determine whether it looks natural.
Put simply:
Precision helps a veneer fit; craftsmanship helps it look natural.
Structural integrity. The veneer should also be examined under magnification for micro-cracks, especially around margins, thin cervical areas and incisal edges.
Checkpoint 5: Packaging and Shipping
For outsourced CAD/CAM veneers, the final QC stage extends through packaging and case identification.
Each restoration should be protected to prevent movement or contact damage during transport. The case documentation may include:
- Patient or case identification
- Tooth number
- Prescribed shade
- Characterization instructions
- Relevant try-in information
- Finished-case documentation when required
For international veneer outsourcing, traceability becomes particularly valuable because the production team and prescribing dental professional are geographically separated.
At ADS Dental Laboratory Ltd, case tracking and technician traceability form part of the structured quality-control workflow. Margin, contact, occlusion, shade and aesthetic characteristics are inspected at defined stages, followed by final QC before delivery.
For long-term laboratory clients, maintaining greater continuity within the technician or production team can also help improve aesthetic consistency from one case to the next.
Common CAD/CAM Veneer Failure Modes and How QC Catches Them
Even in a well-managed digital dental laboratory, certain failure modes recur. Understanding them helps laboratories and clinics know what to look for.
Open margins. Causes can include scan ambiguity at the finish line, incorrect CAD margin tracing, milling bur wear or dimensional changes during subsequent ceramic processing. Final fit verification helps identify unacceptable marginal discrepancies before delivery.
Shade mismatch. Causes can include incorrect block shade selection, firing variables or inadequate surface characterization. Controlled aesthetic evaluation against the prescribed shade helps detect the problem before shipping.
Micro-cracks. Hairline fractures may result from milling stress, tool condition, thermal stress during ceramic processing or handling damage. Magnification-assisted inspection is therefore particularly valuable around margins, incisal edges and thin cervical areas.
Incorrect occlusion. Excessive incisal length or thickness can create premature contact. Common causes include incomplete opposing arch data, inaccurate bite registration or inadequate consideration of available clearance during CAD design.
These failure modes demonstrate why final inspection alone is not enough. A restoration that reaches the final QC stage with a fundamental design error has already consumed material, milling time, technician time and furnace cycles.
Catching errors earlier improves both clinical reliability and laboratory production efficiency.
Standards and Compliance for CAD/CAM Veneers
CAD/CAM veneer production operates within established standards for dental materials, digital systems and medical-device quality management.
ISO 6872 - Dentistry - Ceramic materials is a primary international standard for dental ceramics. It classifies ceramic materials according to properties including flexural strength and chemical solubility and defines relevant test methods.
ISO 12836 - Dentistry - Digitizing devices for CAD/CAM systems specifies test methods for assessing the accuracy of digitizing devices used in dental CAD/CAM. Scanner accuracy is particularly relevant because errors in digital capture can affect every later stage of the veneer workflow.
For laboratories outsourcing CAD/CAM veneers internationally, compliance should be considered together with day-to-day production control. Material documentation alone does not guarantee a well-fitting restoration; quality management also requires controlled processes, traceability, non-conformance handling and repeatable inspection.
When evaluating a supplier, broader dental lab quality standards are therefore just as important as the specifications of an individual ceramic block or scanner.
ADS maintains an ISO 13485 medical-device quality management system as part of its production framework and is FDA Registered for applicable dental product categories. Its broader quality-control process includes production-stage case tracking, technician traceability, magnification-assisted inspection and final QC.
The distinction matters: standards provide the quality framework, while the laboratory's actual workflow determines how consistently that framework is applied to individual cases.
How to Evaluate a CAD/CAM Veneer Outsourcing Partner
For dental laboratories and group practices evaluating an outsourcing partner for CAD/CAM veneers, the quality-control workflow provides a useful evaluation framework.
Price and turnaround time matter, but they do not explain how the laboratory prevents remakes or maintains consistency across repeated cases.
More useful questions include:
Can you describe your scan validation protocol?
A structured process should address margin visibility, scan completeness, adjacent dentition and occlusal information.
What is your design review process?
Look for defined checks involving veneer thickness, margin adaptation, contacts, insertion path, contour and occlusion rather than relying on design approval without systematic review.
How do you inspect veneers after milling and final ceramic processing?
A structured QC process should include marginal inspection, model fit where appropriate, contact and occlusal evaluation, shade assessment, aesthetic inspection and structural examination.
Can you provide appropriate documentation for the ceramic materials you use?
Established material manufacturers should be able to provide relevant technical and standards documentation.
What is your remake rate, and what are the common reasons?
A partner that records remake causes can identify recurring production problems and implement corrective actions. A remake rate above 5% for veneers may suggest systemic issues within the workflow. A laboratory that does not track remakes has less visibility into where its process needs improvement.
For long-term outsourcing, another question becomes equally important:
How do you maintain consistency across repeated cases?
A single excellent veneer case demonstrates capability. A successful outsourcing relationship requires the laboratory to reproduce an agreed standard across dozens or hundreds of cases.
That requires more than milling equipment. It depends on standardized prescriptions, trained CAD designers, experienced aesthetic technicians, production traceability, defined QC checkpoints and continuity in case communication.
ADS approaches veneer production through this combination of digital precision and experienced dental craftsmanship. Its digital workflow includes CAD/CAM design, scanning and milling, while technician-led stages remain important for surface texture, shade matching, characterization, contouring and final aesthetic refinement.
ADS also operates a dedicated Veneer Aesthetic Center, with close to 200 professionals involved in veneer-related production within a broader team of more than 500 people. For overseas dental laboratories, complete veneer cases can be outsourced, or selected production stages such as digital design and fabrication can be incorporated into an existing laboratory workflow.
Final Thoughts
High-quality CAD/CAM veneers are the result of a connected process rather than a single piece of equipment. A clear scan supports an accurate CAD design; an appropriate design supports precise veneer milling; controlled ceramic processing preserves fit and material properties; and experienced finishing helps produce natural shade, translucency, morphology and surface texture.
The central lesson is that quality control must be built into every transition of the digital veneer workflow. Digital precision can improve repeatability, but the best results still depend on sound clinical information, appropriate material selection, experienced dental technicians and structured inspection.
For dental laboratories, clinics and dental professionals looking for a long-term CAD/CAM veneer outsourcing partner, ADS Dental Laboratory Ltd combines digital design and milling with a dedicated aesthetic veneer team and structured quality control. Contact ADS to discuss your veneer workflow, digital case requirements or a specific outsourcing project.
FAQ
Are CAD/CAM veneers completely made by machines?
No. CAD/CAM technology can automate and standardize digital design and veneer milling, but high-quality aesthetic veneers still benefit from technician involvement. Shade adjustment, surface texture, characterization, contour refinement, glazing and final quality control often require experienced manual judgment.
What is the most important factor in CAD/CAM veneer accuracy?
There is no single factor. Accuracy depends on the entire digital workflow, beginning with scan quality and margin visibility, followed by correct CAD design, suitable cement-gap parameters, material selection, milling tool condition, ceramic processing and final inspection. An error introduced during the scan or design stage can remain present even if the milling machine reproduces the design accurately.
How are CAD/CAM veneers checked before they are shipped?
A structured dental lab quality-control workflow may include scan validation, design review, post-milling inspection, marginal-fit evaluation, proximal contact checks, occlusal inspection, shade and aesthetic assessment, magnification-assisted structural inspection and final case verification before packaging.
Are lithium disilicate veneers suitable for CAD/CAM milling?
Yes. Lithium disilicate is widely used for CAD/CAM veneers because it combines favorable optical characteristics with mechanical properties suitable for many anterior aesthetic indications. The appropriate material and minimum thickness should still be determined according to preparation design, occlusion, shade requirements and the individual clinical case.
What should dental laboratories look for in a CAD/CAM veneer outsourcing partner?
Look beyond milling equipment alone. A reliable veneer outsourcing partner should have a defined digital case workflow, experienced CAD designers and aesthetic technicians, documented material selection procedures, structured quality control, case traceability, consistent communication and a clear system for handling remakes or non-conforming cases.