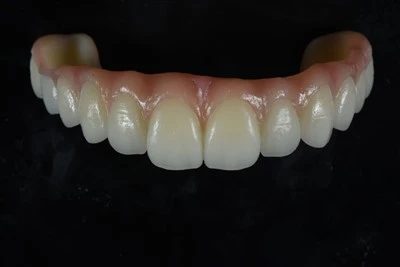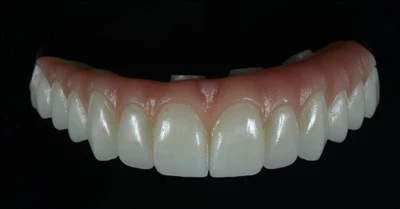
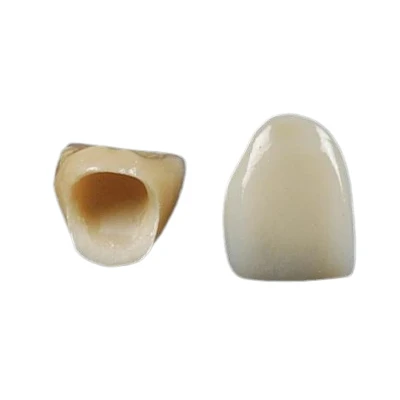
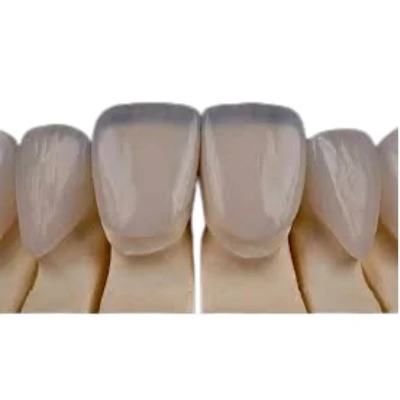
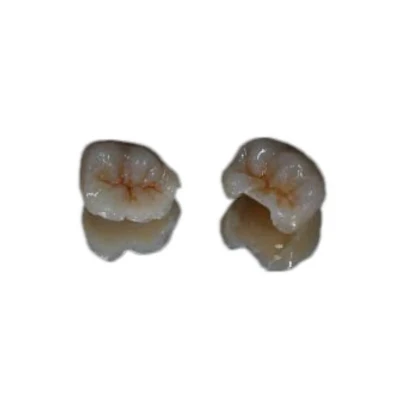

Photo-assisted shade matching is the use of standardized clinical photos to support visual shade selection and lab communication. In restorative dentistry, it helps the dental lab understand more than a shade code. A good photo shows value, chroma, translucency, surface texture, and the way a tooth changes from cervical to incisal areas.
For anterior crowns, veneers, implant crowns, and other esthetic restorations, this can make the difference between a restoration that blends naturally and one that needs adjustment or remake.

Why Photo-Assisted Shade Matching Matters
Dental shade matching is the process of selecting and communicating the color characteristics of a natural tooth so a restoration can match it. Traditionally, dentists use a visual shade guide such as VITA Classical or VITA 3D-Master. This is still useful, but it has limits.
A shade tab gives the lab a starting point. It does not show the full tooth.
Natural teeth are layered. The cervical third may show higher chroma. The middle third often controls the main body shade. The incisal third may have translucency, opalescence, halo effects, cracks, or mamelons. A single shade code such as A2 or B1 cannot describe all of that.
Visual shade selection is also affected by clinical conditions. Operatory lighting, eye fatigue, tooth dehydration, bright clothing, lipstick, and surrounding colors can all change how a tooth is perceived. Even the angle of the shade tab can mislead the final judgment.
Photo-assisted shade matching reduces that information gap. It gives the ceramist a visual reference that can be reviewed during design, layering, staining, glazing, and final quality control. It is not a replacement for clinical judgment. It is a way to make clinical judgment more useful to the lab.
This is especially important when the dentist works with an external or overseas dental laboratory. The technician cannot see the patient directly. The photo becomes part of the prescription.
What a Shade Photo Shows That a Shade Code Cannot
A proper shade photo helps the lab evaluate the visual structure of the tooth. The most important factor is often value, which means the relative lightness or darkness of the tooth. A restoration with the wrong value is usually noticed faster than one with a slight hue difference.
Hue refers to the color family, such as reddish-brown or yellowish. Chroma means the saturation or intensity of that color. Translucency describes how much light passes through the enamel and incisal area. These features interact with surface texture and tooth thickness.
A high-quality shade photo can show:
- Cervical color saturation
- Middle third body shade
- Incisal translucency
- White spots or hypocalcification
- Cracks and craze lines
- Mamelons
- Surface texture and luster
- Neighboring tooth color differences
- Opalescence and incisal halo effects
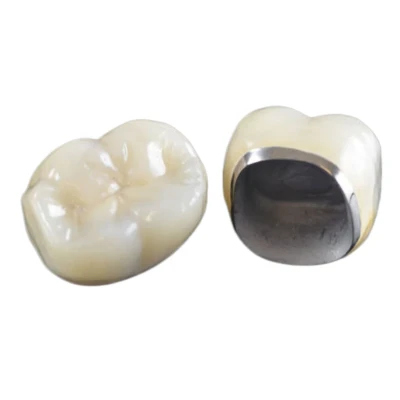
These details matter more in anterior restorations than in posterior crowns. A posterior zirconia crown often needs a reliable basic shade and occlusal fit. A single central incisor crown needs much more. It must match the adjacent natural tooth under different light conditions and from different viewing angles.
For veneers, photos also help the lab understand the broader smile design. The restoration should not only match one tooth. It should fit the patient's smile line, lip frame, and overall esthetic target.
A useful shade photo is not just a pretty clinical image. It is a working document for the dental lab.
Take Shade Photos Before the Teeth Dehydrate
Timing is one of the most important parts of shade matching.
Shade selection and shade photography should be done at the beginning of the appointment, before tooth preparation, rubber dam placement, impression taking, or long periods of mouth opening. Once enamel dehydrates, the tooth can appear brighter, whiter, and more opaque. This raises the perceived value and can lead to a restoration that looks too light in the mouth.
This mistake is common because shade selection is sometimes treated as a final step. It should not be. It belongs near the beginning of the clinical workflow.
If the tooth has already dried, rehydrate it before taking shade photos. A simple method is to place water-soaked gauze over the teeth and wait several minutes. The exact time depends on the case, but the principle is clear: do not photograph a dehydrated tooth and expect the lab to match the hydrated oral condition.
The same rule applies to prepared teeth. For all-ceramic crowns, veneers, lithium disilicate restorations, and translucent zirconia, the underlying stump shade can influence the final result. When needed, take a prepared tooth or stump shade photo after preparation, but the original tooth shade should still be recorded before dehydration begins.
Better timing prevents one of the most avoidable shade errors: choosing a shade based on a tooth that no longer looks like it will look after rehydration.
Set Up Consistent Lighting and a Neutral Environment
Dental photography shade matching depends on controlled light. The goal is not to make the tooth look attractive. The goal is to record color information accurately enough for the lab to use.
A daylight-balanced light source around 5500K is commonly recommended for shade photography. A high color rendering index, often CRI 90 or above, helps the light show color more accurately. D65-type lighting, generally in the 5500K to 6500K range, is also used as a reference in color evaluation.
Natural daylight can be useful, but it changes with weather, time, window direction, and surrounding surfaces. A controlled clinical light source is usually more repeatable.
|
Factor |
Recommended Approach |
Why It Matters |
|
Light temperature |
Around 5500K daylight-balanced light |
Reduces yellow or blue color cast |
|
CRI / Ra |
90 or higher when possible |
Improves color rendering accuracy |
|
Background |
Neutral gray or soft colors |
Reduces reflected color contamination |
|
Exposure |
Clear, not overexposed |
Preserves value and surface detail |
|
File style |
No filters or beauty effects |
Prevents false color information |
Avoid mixed lighting. A photo taken under ceiling light, dental chair light, window light, and camera flash at the same time may contain several color temperatures. That makes the image harder to interpret.
The clinical environment also matters. Lipstick, strong makeup, bright clothing, and colored walls can reflect onto teeth and affect perception. Teeth should be clean before shade photography. Plaque, stains, blood, saliva bubbles, and debris all interfere with accurate reading.
Photos should not be edited to look better. If post-processing is used, it should be limited to calibration, such as white balance and exposure correction with a gray card. The lab needs truth, not enhancement.
Consistent lighting does not need to be complicated. It only needs to be repeatable.
Position the Shade Tab Correctly
The shade tab must be placed in the same plane as the target tooth. This is one of the most important rules in shade guide photography.
If the shade tab is closer to the camera than the tooth, it may look brighter. If it sits behind the tooth, it may look darker. If it is tilted, it may reflect light differently. All of these errors can mislead the lab.
The incisal edge of the shade tab should be close to the incisal edge of the tooth being matched. Both should face the camera at a similar angle. The tab should not float in front of the tooth or sit far away from it.
For anterior cases, it is helpful to include more than one shade tab. One tab may represent the closest match. Another may be slightly lighter or darker. This gives the ceramist a better sense of the shade range.
A practical sequence is:
- Select the closest visual shade.
- Confirm value first.
- Add one lighter and one darker tab when needed.
- Photograph the tabs beside the target tooth in the same focal plane.
- Keep the camera angle straight and repeatable.
Value should be checked before chroma and hue. Some dentists slightly squint or half-close their eyes during visual shade selection to reduce color distraction and focus on lightness. This is not a substitute for photography, but it supports better clinical judgment.
Poor tab position can ruin an otherwise good photo. The lab can only compare what the camera records.
Essential Shade Photos Dentists Should Send to the Lab
One photo is rarely enough for predictable esthetic shade matching. The lab needs both close color reference and broader oral context.
For simple posterior cases, a clear shade tab photo may be sufficient. For anterior crowns, veneers, implant crowns, and complex ceramic restorations, more views are needed.
Close-Up Photo With Shade Tabs
This is the core shade reference. The target tooth and shade tab should be close together, in the same plane, and photographed under controlled lighting.
The image should be sharp enough for the lab to read surface texture and color zones. Avoid overexposure. A washed-out image hides value and chroma information.
Retracted Smile Photo
A retracted smile photo shows the target tooth in relation to the neighboring teeth and arch. It helps the lab evaluate symmetry, color harmony, and gingival position.
This photo is especially useful for veneers, anterior crowns, and cases where several teeth are restored together.
Natural Smile Photo
A natural smile photo shows the restoration in the patient's facial context. It gives information about smile line, lip mobility, tooth display, and the overall esthetic goal.
For full-smile rehabilitation, this image can be as important as the close-up shade photo.
Angled or Lateral View
An angled view helps reveal surface texture, curvature, reflection, and the transition from cervical to incisal areas. Some color characteristics are easier to see from a slight side angle than from a straight-on image.
This view is useful when the tooth has visible anatomy, strong texture, or complex incisal effects.
Black Contraster or Translucency Photo
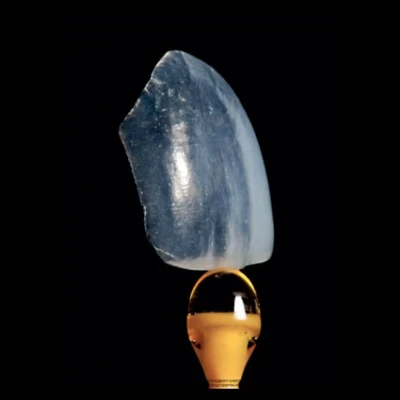
A black contraster can help show incisal translucency and internal characteristics. It is not required for every case, but it is valuable for anterior esthetic restorations.
The lab can use this image to judge whether the incisal area should be more translucent, more opaque, bluish-gray, or slightly warm.
Stump Shade Photo When Needed
For all-ceramic restorations, the color of the prepared tooth can influence the final appearance. This is especially true for veneers, lithium disilicate, thin ceramic restorations, and cases with dark stump shades.
A stump shade photo helps the lab choose material opacity, ceramic thickness, staining strategy, and final shade approach.
The more esthetic the case, the more complete the photo set should be. Complex cases need documentation, not guesswork.
Shade Mapping: How to Describe Color Zones Clearly
Shade mapping means dividing the tooth into visual zones and describing the color features in each area. It helps the lab translate a clinical photo into a ceramic strategy.
A natural anterior tooth often has three main zones: cervical, middle, and incisal. Each zone may need a different ceramic effect.
Cervical Third
The cervical third is near the gingival margin. It often has higher chroma because enamel is thinner and dentin influence is stronger. In some patients, this area appears warmer or more saturated.
For crown and veneer cases, this zone must blend with the gingival area and adjacent teeth. A cervical area that is too bright can make the restoration look artificial.
Middle Third
The middle third usually controls the main body shade. It is the best area for evaluating the general value and chroma of the tooth.
This zone should be described clearly in the prescription. If the tooth is generally A2 but lighter in the middle third, the lab needs to know.
Incisal Third
The incisal third may show translucency, opalescence, halo effects, mamelons, cracks, or white markings. These features can make or break an anterior restoration.
A shade note such as "A2" does not tell the lab whether the incisal edge is translucent blue-gray, milky, warm, or opaque. A photo with a short written note does.
Useful shade mapping notes may include:
- "Higher chroma at cervical third"
- "Translucent incisal edge"
- "Small white spot on distal incisal area"
- "Visible vertical craze lines"
- "Slight gray translucency near incisal third"
- "Smooth high-gloss surface expected"
- "Light horizontal texture on facial surface"
Shade mapping does not need to be long. It needs to be specific.
Common Mistakes That Lead to Shade Mismatches
Most shade mismatches come from incomplete, distorted, or late information. The selected shade tab may not be the only problem.
Taking Photos Too Late
The most common error is taking shade photos after the tooth has dehydrated. This can make the tooth appear higher in value and more opaque. The restoration may then return too bright.
Take the shade photo first, not after the clinical procedure has already changed the tooth's appearance.
Using Poor or Mixed Lighting
Yellow room light, fluorescent light, strong chair light, and uncontrolled window light can all affect the image. Mixed lighting is especially difficult because the photo may not have one correct white balance.
A stable daylight-balanced light source is more reliable.
Holding the Shade Tab Incorrectly
If the shade tab is not in the same plane as the tooth, the comparison becomes unreliable. Distance and angle change brightness. A small positioning error can cause a large communication error.
The tab should be close, straight, and aligned with the target tooth.
Sending Only One Compressed Photo
A single compressed image does not provide enough information for a high-esthetic case. Messaging apps may reduce file quality and strip useful image data.
Whenever possible, send original high-resolution JPEG files. For demanding anterior cases, RAW files or calibrated images can be even more useful.
Ignoring Texture and Translucency
Some shade prescriptions focus only on the base shade. That is not enough for natural-looking dental restorations.
A crown can have the correct A2 shade and still look wrong if the surface is too smooth, the incisal area is too opaque, or the cervical chroma is missing. Texture, translucency, and value transitions should be part of the shade communication.
Good shade matching is rarely about one dramatic mistake. It is usually about controlling several small variables before they accumulate.
Advanced Tools for More Predictable Esthetic Cases
Advanced tools are not required for every restoration, but they can improve consistency in demanding anterior cases.
A gray card or color calibration card helps correct white balance and exposure. When used properly, it gives the lab or clinician a neutral reference point for image evaluation. This is useful when photos are analyzed in software.
Cross-polarized photography is another valuable tool. It reduces surface glare and allows the internal color of the tooth to appear more clearly. This helps the lab evaluate translucency, opalescence, and dentin structure without being distracted by specular reflection.
Digital shade devices, such as spectrophotometers, can provide objective color data, including Lab* values. These tools are useful, but they should not replace clinical photos. A device may measure a specific area, while a photo shows the entire tooth, neighboring teeth, surface texture, and smile context.
The strongest workflow combines:
- Visual shade selection
- Standardized shade photography
- Clear shade mapping
- Digital shade data when available
- Complete lab prescription
- High-resolution image transfer
Software can support analysis, but photos should be calibrated, not beautified. Changing color balance manually to make the tooth look "better" creates false information for the lab.
Advanced tools work best when the basic protocol is already correct.
How Better Shade Photos Improve Lab Communication
Dental lab shade communication is the process of transferring clinical color information from the dentist to the technician in a form that can guide restoration fabrication. In digital dentistry, this often includes photos, intraoral scans, prescription notes, material selection, and design requirements.
For outsourcing cases, this communication becomes even more important. The lab may be in another city or another country. The technician does not see the patient directly. Photos become the visual bridge between the clinical situation and the restoration being made.
A complete shade submission should include:
- Tooth number and restoration type
- Selected shade and shade guide system
- High-resolution shade tab photos
- Retracted and natural smile photos
- Stump shade photo when needed
- Material choice, such as zirconia, lithium disilicate, PFM, or layered ceramic
- Notes on translucency, texture, glaze, and surface character
- Intraoral scan or model data
- Any special esthetic request from the patient
This information helps the dental lab make better decisions. For zirconia crown shade matching, the lab may adjust material type, staining, and glaze. For veneers, the lab may consider ceramic thickness, stump shade, and translucency. For implant crowns, gingival color, emergence profile, and cervical shade become more important.
A better photo does not guarantee a perfect restoration by itself. It gives the lab the information needed to work with precision instead of assumption.
Conclusion
Photo-assisted shade matching is a practical way to improve dental shade matching by turning clinical color judgment into clear visual communication. The key is not to take more random photos. The key is to take the right photos at the right time, under controlled light, with correct shade tab positioning and enough detail for the lab to interpret.
For dentists working with an external dental laboratory, this process helps reduce remakes, improve esthetic predictability, and make custom dental restorations easier to control.
ADS Dental Laboratory Ltd supports overseas dentists and dental labs with custom crowns, veneers, implant restorations, and zirconia cases through a digital workflow and detailed case communication. Contact us to discuss your next restoration case or shade communication requirements.