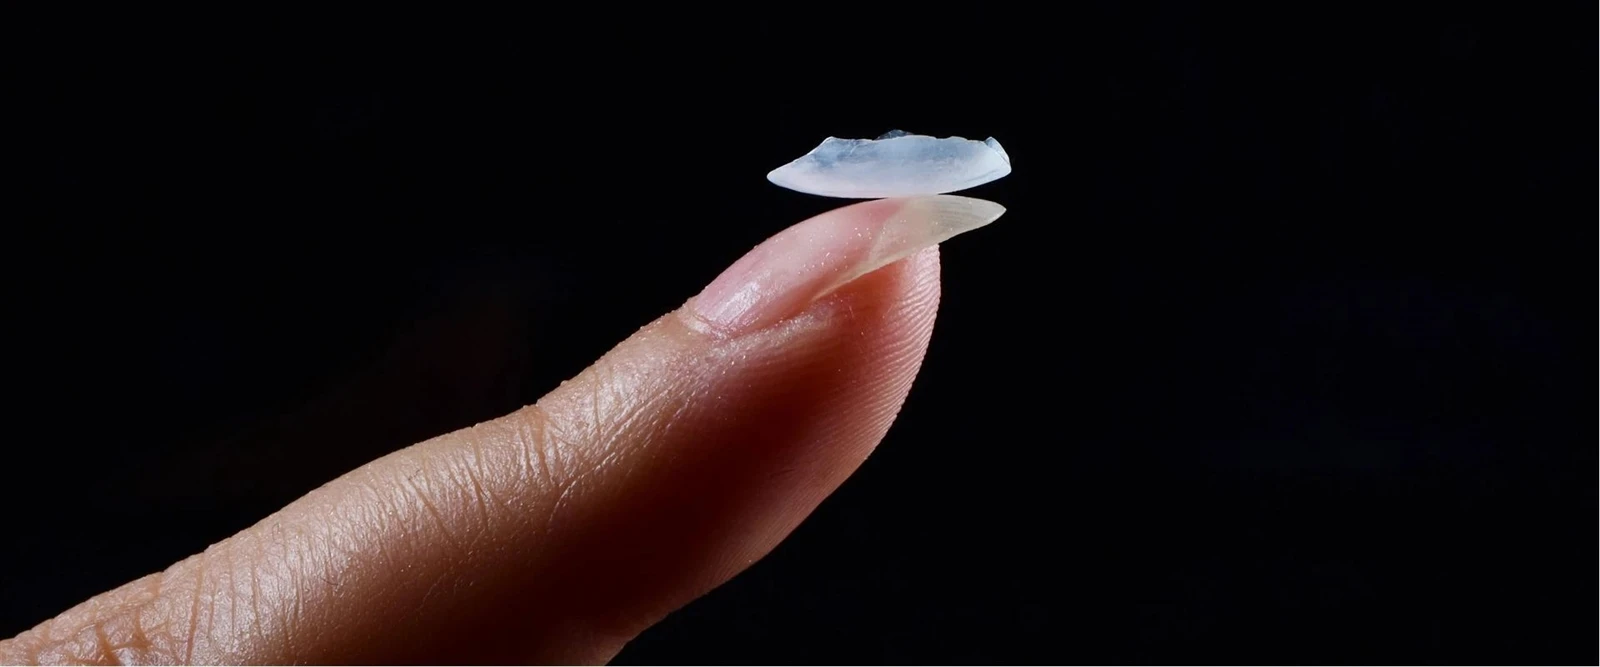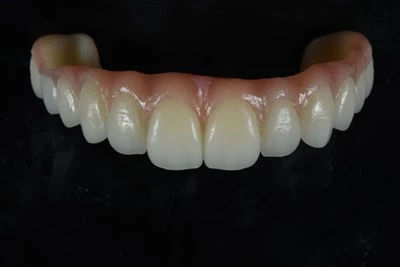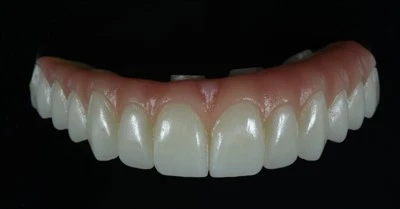
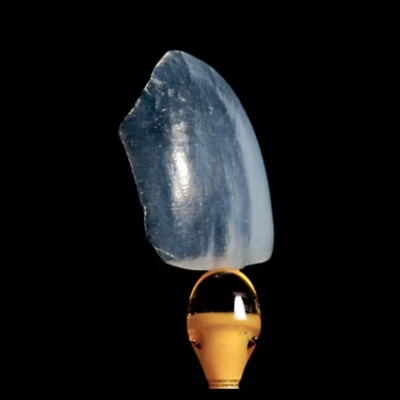
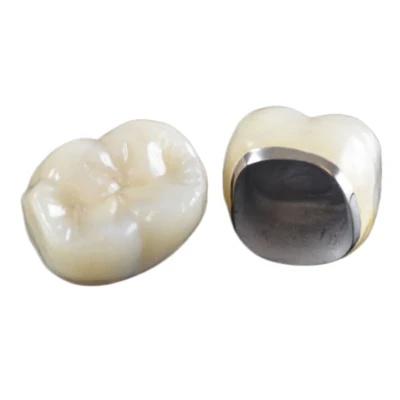
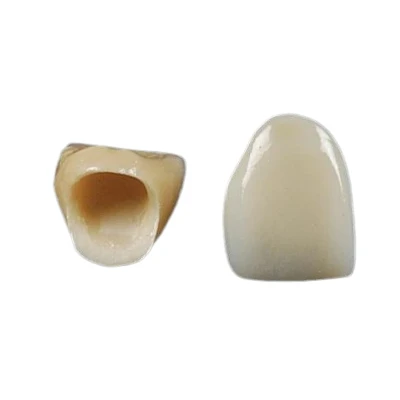
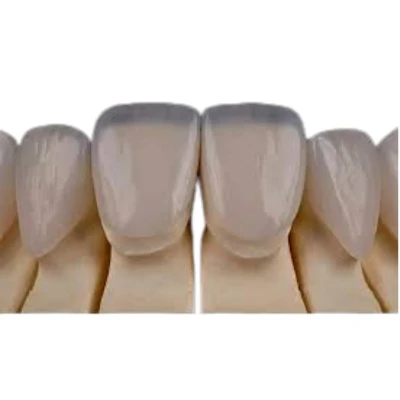
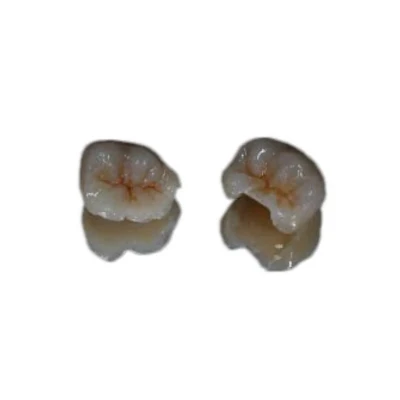



Zirconia crowns are full-ceramic restorations made from zirconium dioxide. They offer high strength, good wear resistance, and biocompatibility. In recent years, zirconia has become the go-to material for many single crowns and bridges, especially in posterior areas where load is high.
As a digital dental lab that produces thousands of zirconia restorations each year, we see the direct impact of preparation quality on fit, longevity, and remake rates. Poor prep leads to thick crowns, fracture risks, or seating issues. Good prep means passive fit, even thickness, and predictable results from CAD/CAM milling.
This guide covers the essentials for preparing a tooth for zirconia crowns. Focus on uniform reduction, smooth surfaces, and proper margin design. These steps align with guidelines from major manufacturers and labs.

What Is a Zirconia Crown?
Zirconia crowns use zirconium dioxide ceramic. The material starts as pre-sintered blocks for milling, then sinters to full density.
Key advantages include flexural strength of 800–1200 MPa, depending on the grade. This makes zirconia suitable for bruxers or heavy occlusal loads. Modern high-translucency versions improve esthetics for anterior use, though monolithic high-strength types remain dominant posteriorly.
Compared to PFM crowns, zirconia requires less aggressive reduction in many cases. It avoids metal show-through and offers better long-term gingival response. But zirconia does not forgive under-reduction-thin spots lead to chipping or fracture under stress.
The preparation must provide consistent space for the material while keeping the tooth structure intact.
Key Principles of Zirconia Crown Preparation
Tooth preparation for zirconia focuses on clearance, passive fit, and stress distribution.
Smooth, rounded edges reduce stress concentrations and lower fracture risk. Uniform reduction ensures even wall thickness for strength. Sufficient clearance supports esthetics and prevents overcontoured crowns.
Digital scanners read smooth preps more accurately, which improves margin detection in CAD design.
Avoid undercuts, sharp angles, parallel walls, or gutter preps-these block insertion or cause milling errors.
Taper should range 4–8 degrees for draw. Chamfer margins are standard; feather edges work only in select high-strength monolithic cases-always check with the lab first.
These principles apply to both anterior and posterior, but reduction amounts differ based on location and function.
Step-by-Step Tooth Preparation for a Zirconia Crown
Start with assessment. Check occlusion, periodontal health, and pulp status. Take diagnostic impressions if reduction guides are needed. Select shade before dehydration sets in.
Anesthetize and isolate the tooth.
Begin proximal reduction. Open contacts without damaging neighbors. Use a thin diamond bur in a sawing motion.
Move to occlusal or incisal reduction. Place depth grooves first. Follow natural anatomy-do not flatten. Posterior: reduce 1.5–2.0 mm occlusal. Anterior: 1.8–2.0 mm incisal.
Reduce axial walls next. Maintain uniform taper. Remove bulk with medium-grit diamond, then refine.
Form the margin. Create a continuous circumferential chamfer, at least 0.5 mm deep at gingival. Use fine-grit tapered diamond for precision. Round all line angles.
Finish by smoothing surfaces. Eliminate sharp edges or rough spots. Polish lightly if needed.
Manage tissue with retraction cord or paste. Capture impression or intraoral scan promptly.
Use reduction guides for consistency, especially in posterior cases. Digital planning helps visualize clearance before cutting.
These steps ensure the prep supports accurate milling and seating.
Recommended Tooth Reduction for Zirconia Crowns
Reduction varies between anterior and posterior due to esthetics versus function.
Anterior focuses on translucency and natural contours. Posterior prioritizes strength under load.
Here is a comparison based on common guidelines from labs and manufacturers:
|
Parameter |
Anterior Zirconia Crown |
Posterior Zirconia Crown |
|
Axial / Wall Reduction |
Minimum 0.3–0.5 mm, ideal 1.0–1.5 mm |
Minimum 0.5 mm, ideal 1.0–1.5 mm |
|
Incisal / Occlusal Reduction |
1.8–2.0 mm |
1.5–2.0 mm (1.0–1.5 mm for high-strength monolithic in low-clearance cases) |
|
Margin Design |
Continuous circumferential chamfer, ≥0.5 mm gingival depth |
Continuous circumferential chamfer, ≥0.5 mm gingival depth |
|
Taper |
≈5–6° |
4–8° |
|
Other Notes |
Round incisal edges; concave lingual with football diamond |
Round occlusal edges; preserve functional cusp anatomy |
For monolithic high-translucency zirconia, aim for slightly more conservative reduction where possible-0.5 mm minimum works in many posterior cases, but ideal is 1.0 mm+ for anatomy.
Insufficient reduction causes thick crowns and fracture risk. Over-reduction risks pulp or weakens the tooth.

Common Mistakes in Zirconia Crown Preparation
Under-reduction tops the list. It forces the crown to sit high or thick, leading to occlusal issues or breakage.
Sharp angles or edges create stress points-fractures start there.
Undercuts prevent seating. Parallel walls or excessive taper reduce retention.
Gutter preps or 90° shoulders complicate milling and fit.
Irregular margins cause poor adaptation and cement dissolution.
In anterior, ignoring lingual concavity affects phonetics and esthetics.
Avoid these by using depth guides, checking taper with probes, and rounding everything. A quick try-in prep check saves remakes.
Tips for Achieving a Better Zirconia Crown Fit
Uniform reduction and smooth taper are non-negotiable.
Retract gingiva thoroughly for clear margin capture.
Prefer digital intraoral scans over traditional impressions-they detect fine details better on smooth preps.
Clean the prep surface before scanning or impressing.
During try-in, verify contacts, occlusion, and marginal fit first.
Remove excess cement completely-residual material causes inflammation.
Polish adjustments with fine diamond under water to avoid micro-cracks.
Communicate case specifics to the lab: photos of prep, desired occlusion, material type.
These steps cut chair time and improve seating predictability.
How Dental Labs Design Zirconia Crowns Based on Tooth Preparation
In our digital workflow, we receive the scan or impression.
CAD software marks the margin line from the prep data. Accurate, smooth preps allow precise auto-detection with minimal manual correction.
The design sets insertion axis, adjusts anatomy, and ensures minimum thickness-no thin spots.
Milling happens from pre-sintered zirconia blocks. Sintering follows for full strength.
Surface finishing includes polishing or glazing.
Good prep directly affects outcome: uniform clearance means even thickness; rounded edges reduce design compensations; clear margins mean tight adaptation.
At ADS Dental Laboratory Ltd, our CAD/CAM setup handles high-volume overseas cases with fast turnaround. Upload your prep scan-we provide feedback on design options or adjustments before milling. This cuts remakes and keeps your focus on the patient.
Conclusion
Proper tooth preparation sets the stage for zirconia crown success. Follow consistent reduction, chamfer margins, and rounded contours. These details ensure strength, fit, and longevity.
Partner with a reliable digital lab for predictable results. Send us your cases-we review preps, suggest tweaks, and deliver precise restorations. Contact ADS Dental Laboratory Ltd to discuss your next zirconia project.