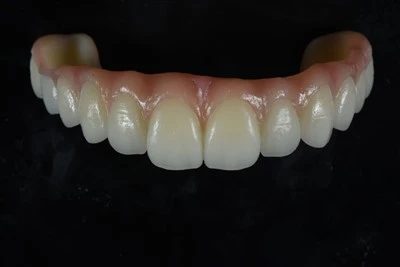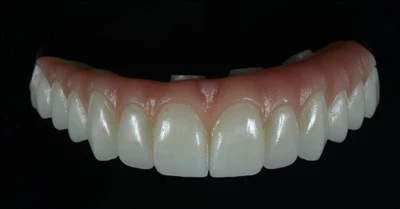
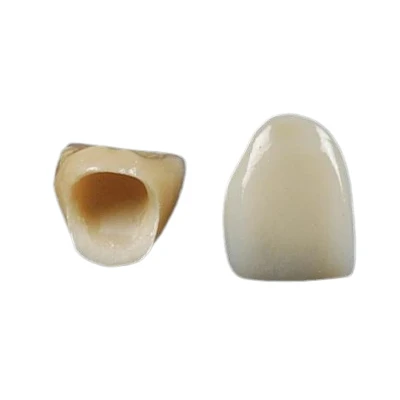
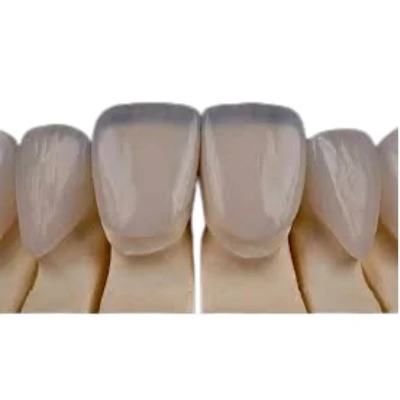
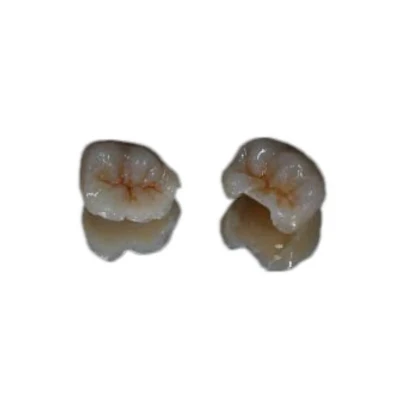
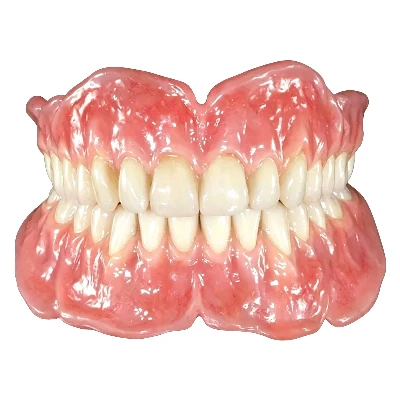

Zirconia crowns dominate posterior and full-arch restorations because they deliver strength over 1000 MPa, excellent biocompatibility, and good esthetics without veneering in many cases. At ADS Dental Laboratory, we mill thousands of these units every month for overseas clinicians, so we see firsthand what happens when they hit the chair: most need only minor tweaks, but the material's hardness demands specific handling to avoid micro-cracks or accelerated wear on opposing teeth.

What Are Zirconia Crowns?
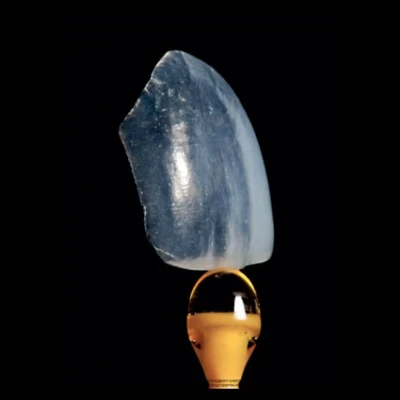
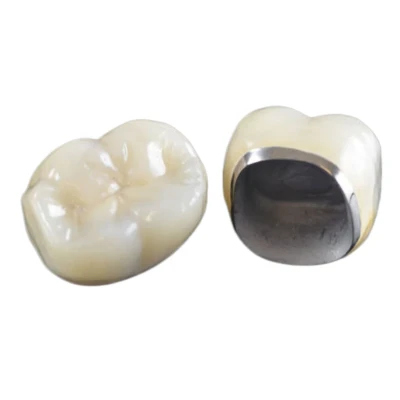
Zirconia crowns are monolithic or layered restorations made from yttria-stabilized zirconium dioxide, usually via CAD/CAM milling. Full-contour monolithic versions skip veneering porcelain entirely, which cuts failure risk from chipping. Multilayer high-translucent types add gradient shading for anterior zones.
The material's Vickers hardness sits around 1200–1300, far above feldspathic porcelain or lithium disilicate. That gives unmatched fracture resistance but makes chairside adjustment unforgiving-heat buildup or heavy pressure quickly creates invisible flaws that propagate under load.
Our goal when we produce these is precise marginal fit and occlusal harmony so you rarely touch them. Reality, though, includes soft-tissue swelling, slight sintering distortion, or patient-specific bite shifts, so minor adjustments remain routine.
When Do Zirconia Crowns Need Adjustment?
Adjustment becomes necessary in these situations:
- Marginal gaps of 0.1–0.3 mm at the finish line
- Occlusal high spots or working/non-working interferences marked by articulating paper
- Proximal contacts too tight (floss binds hard) or too open (food traps)
- Minor contour changes for esthetics or emergence profile
If the marginal gap exceeds 0.5 mm, occlusal reduction would remove more than 0.3 mm, or you see visible distortion/cracks, send it back for remake. Chairside fixes beyond those thresholds weaken the crown or create bonding issues.
Catching these early prevents patient discomfort, opposing enamel loss, or early failure.
Essential Tools for Zirconia Crown Adjustment
You need tools that control heat and pressure-zirconia's low thermal conductivity turns friction into stress risers fast.
Core items:
- Diamond burs: fine or extra-fine grit (≤50 μm) for finishing; medium grit only for initial bulk if unavoidable. Shapes matter-football or egg-shaped for occlusal tables, tapered (flame or round-end) for axial walls and margins.
- Handpiece: low-speed electric (6,000–20,000 RPM) preferred for consistent torque and less vibration. High-speed air-turbine can work if heavily water-cooled and run light, but many clinicians report micro-fractures from it.
- Cooling: constant water + air spray-no exceptions.
- Auxiliary: 200 μm articulating paper (multi-color for dynamic marking), magnification (loupes or scope), dedicated zirconia polishing kit (medium → fine → extra-fine wheels/points/cups + diamond paste like Zircon Brite).
Use zirconia-specific burs only; cross-contamination from other materials affects bonding later.

Step-by-Step Guide to Adjust Zirconia Crowns
Start with try-in: seat the crown, check marginal fit visually and with explorer, floss proximals, mark occlusion with articulating paper in MIP and excursions.
Occlusal Adjustments
Mark high spots (shiny areas on paper). Use football or egg-shaped fine diamond bur at low speed, light intermittent contact, 0.1 mm increments. Maintain convex anatomy-never create concavities that trap food or stress points. Recheck after every pass. Limit total occlusal reduction to under 0.3 mm to preserve structural integrity.
Marginal Adjustments
For 0.1–0.3 mm open margins, use tapered diamond (red stripe or similar fine grit) with water spray. Light, sweeping cuts from gingival to occlusal. Check fit frequently with finger pressure or periodontal probe for subgingival zones. Finish margins with aluminum oxide points to smooth without removing excess.
Proximal Contact Adjustments
Tight contacts: thin tapered/needle diamond from facial, preserving embrasure form. Floss should snap through with mild resistance. Open contacts under 0.3 mm: add flowable composite. Larger gaps mean remake.
After all cuts, verify: even occlusal contacts, no interferences in excursions, patient comfortable, margins sealed.
Common Mistakes to Avoid
- Running high-speed without heavy water cooling or using heavy pressure-generates heat and micro-fractures.
- Removing more than 0.3 mm occlusally-compromises load-bearing capacity.
- Leaving sharp angles or concave surfaces-creates stress concentrations and plaque traps.
- Skipping polishing-rough surfaces abrade opposing enamel faster than the zirconia's hardness alone.
- Adjusting only static occlusion-dynamic excursions often hide interferences.
These errors turn a quick fix into a remake or worse.
Polishing vs Glazing: What's Better for Zirconia?
Adjustment leaves rough surfaces that won't self-smooth during function. Polishing removes bur scratches and creates a low-abrasion finish. Glazing (lab-fired glaze layer) provides initial shine but chips or wears off under occlusion, exposing rough zirconia underneath.
Clinical studies consistently show polished zirconia causes less opposing enamel wear:
- Janyavula 2013 (in vitro): polished zirconia ranked lowest in antagonist wear; glazed caused significantly more.
- Selvaraj 2021 (1-year clinical): polished zirconia produced less enamel loss than glazed.
- Rady 2025 (6-month RCT on ZLS, similar behavior): polished crowns showed minimal wear on opposing teeth; glazed caused greater loss.
- Ghaffari 2022 (meta-review): polishing led to less enamel wear than glazing across zirconia specimens.
Chairside protocol:
- Medium-grit wheels/points to erase diamond scratches.
- Fine/extra-fine wheels for smoother surface.
- Diamond paste + brush for high-luster finish (1–2 minutes total).
Polished usually outperforms reglazed for posterior function. Glazing suits high-esthetic anteriors where polish alone looks matte.
Clinical Tips for Better Results
- Always light pressure and continuous cooling.
- Stick to low-speed electric for torque control.
- Keep surfaces convex.
- Adjust in 0.1 mm steps and verify constantly.
- Leverage digital impressions and try-in paste to spot binding early.
- Tell patients minor sensitivity post-cementation often resolves in 1–2 weeks.
- Schedule 2-week and 6-month checks for marginal integrity and occlusion.
For multi-unit or complex cases, discuss cement space (30–50 μm ideal) with your lab upfront.
How a High-Quality Dental Lab Reduces Adjustment Time
Precise CAD design, accurate marginal contours, and optimized cement space cut chairside work dramatically. We use high-resolution scanners, controlled sintering, and pre-polishing to deliver crowns that seat with minimal or no adjustment in most cases.
When fit issues arise from impression errors or bite changes, a reliable partner spots them early and remakes efficiently. At ADS Dental Laboratory, we focus on long-term overseas partnerships-stable, high-precision zirconia that lets you spend less time adjusting and more on patient care. If frequent tweaks slow your workflow, reach out; we can review cases and refine designs to match your clinical needs.
Conclusion
Zirconia crowns reward careful handling: low-speed tools, light touch, constant cooling, convex contours, and thorough polishing deliver safe, durable results. The extra effort protects opposing teeth and extends restoration life. Prevention through tight lab collaboration beats any chairside fix-choose partners who understand that from the start.
FAQ
Can I use a high-speed handpiece to adjust zirconia?
Occasionally, with heavy water spray and light pressure-but low-speed electric gives better control and lower fracture risk.
Why polish instead of relying on the lab glaze?
Adjustment removes or damages glaze; polished surfaces stay smoother longer and cause less opposing wear, per multiple studies.
How large a marginal gap justifies remake?
Over 0.5 mm usually requires remake-smaller gaps (0.1–0.3 mm) respond to careful adjustment.
How much occlusal material can I safely remove?
Keep under 0.3 mm total to avoid weakening the crown.
Polished or glazed-which is better for opposing enamel?
Polished-research (Janyavula 2013, Rady 2025, others) shows it produces significantly less antagonist wear.
What if I over-adjust?
Minor over-reduction may need composite buildup or remake if structural integrity is compromised-better to send back early.
How do I cut future adjustment needs?
Accurate digital impressions, proper prep (1–1.5 mm occlusal reduction), and lab communication on spacing reduce surprises.