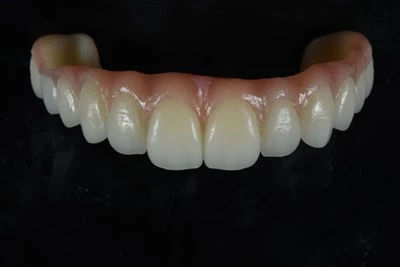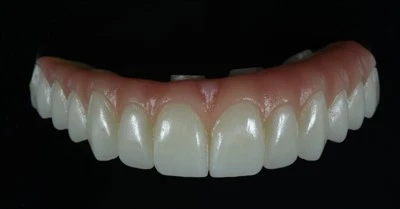
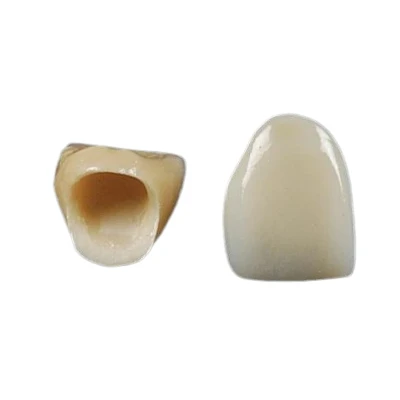
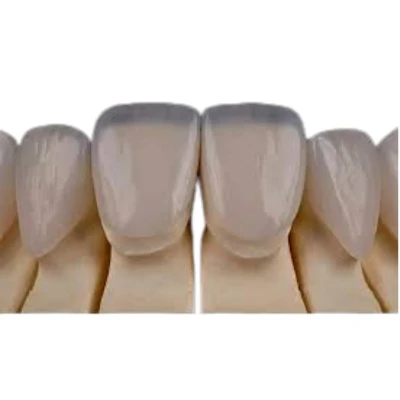
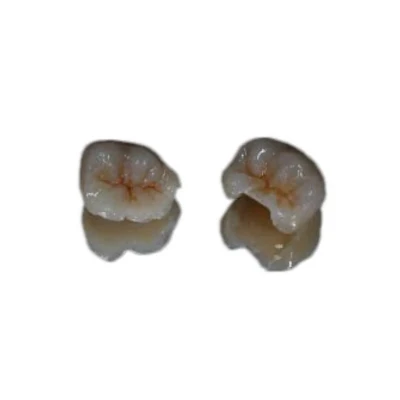
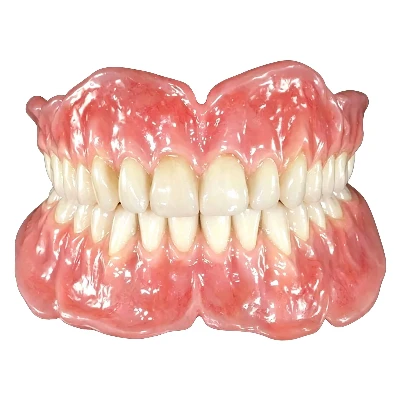


A dental restoration can fit well, function properly, and still disappoint the patient if the shade looks wrong. In crowns, veneers, bridges, inlays, and implant restorations, color is not a small detail. It is often the first thing a patient notices. Shade matching in dental restorations is the process of matching the optical appearance of a restoration to the surrounding natural teeth, including color, value, translucency, and surface texture.
Good shade matching makes dental work disappear into the smile.

What Is Shade Matching in Dental Restorations?
Shade matching is more than choosing a shade guide tab such as A1, A2, or B1. In restorative dentistry, it means selecting and reproducing the visual character of a natural tooth so the final restoration blends with the patient's existing dentition.
That includes several elements:
- Hue: the basic color family, such as yellow, red, or gray undertones
- Value: how light or dark the tooth appears
- Chroma: the intensity or saturation of the color
- Translucency: how much light passes through the tooth or material
- Surface texture: the way the surface reflects light
- Gloss: the final level of shine after polishing or glazing
A single shade code can be helpful, but it cannot describe the full appearance of a natural tooth. The cervical area may be warmer and more saturated. The middle third may carry the main body shade. The incisal edge may show translucency, opalescence, or small internal effects.
This is why dental shade matching is both a clinical step and a laboratory process. The dentist records the shade information. The dental lab interprets that information and translates it into material selection, layering, staining, glazing, and surface finishing.
A shade tab starts the conversation. It does not complete the restoration.
Why Natural Tooth Color Is Difficult to Reproduce
Natural teeth are layered structures. Their color comes from the interaction between enamel, dentin, tooth thickness, surface texture, and light. Enamel is relatively translucent. Dentin carries more of the internal color. When light enters the tooth, it is reflected, absorbed, scattered, and transmitted through these layers.
That is why natural teeth do not look like flat blocks of color.
A restoration must imitate this optical depth. If it is too opaque, it may look lifeless. If it is too translucent, the underlying stump shade or abutment may show through. If the value is too high, the restoration may look chalky or artificial. If the value is too low, it may appear gray or dull.
Hue, Value, and Chroma
Hue, value, and chroma are basic color terms used in dental shade selection.
|
Term |
Meaning in dental shade matching |
Why it matters |
|
Hue |
The basic color tone |
Helps identify whether the tooth is more yellow, red, brown, or gray |
|
Value |
The lightness or darkness of the tooth |
Often the most visible cause of shade mismatch |
|
Chroma |
The strength or saturation of the color |
Affects how rich or intense the restoration appears |
Value deserves special attention. Many dental crown shade matching problems are not caused by the wrong hue. They are caused by the wrong value.
A crown that is slightly too bright can stand out immediately, especially in the anterior region. A crown that is too gray may look aged or unnatural. Even when the shade code seems close, a value mismatch can make the restoration obvious.
For natural-looking dental restorations, the goal is not to make the tooth as white as possible. The goal is to make it believable next to the surrounding teeth.
Why Shade Matching Matters for Aesthetic Results
In visible areas of the mouth, shade matching directly affects whether a restoration is accepted as natural. This is especially true for anterior crowns, porcelain veneers, single central incisors, and implant crowns in the smile zone.
Patients may not understand material strength, marginal accuracy, or occlusal design. They do understand when a crown looks too white, too gray, too yellow, or too flat.
A well-matched restoration supports the entire smile. It does not pull attention away from the face. It blends with tooth shape, alignment, translucency, and surface character. When the shade is wrong, even a well-designed restoration can look like dental work.
This matters most in cases such as:
- Single anterior crowns beside natural teeth
- Veneers where the final shade affects the entire smile design
- Implant crowns where abutment color and soft tissue shape influence appearance
- All-ceramic restorations where translucency must be controlled carefully
- High-value shade cases where brightness must still look natural
Dental restoration aesthetics depend on harmony. Shade matching is one of the main ways to create that harmony.
If the restoration is visible when the patient smiles, the shade cannot be treated as a minor instruction.

How Poor Shade Matching Leads to Remakes and Extra Adjustments
Poor shade matching is not only an aesthetic problem. It can create clinical, financial, and communication problems.
When a restoration does not match, the dentist may need to spend extra chairside time evaluating the color, adjusting the surface, taking new photos, or explaining the issue to the patient. In some cases, stain and glaze can make small improvements. But if the value, translucency, or base material is wrong, chairside correction may not be enough.
That can lead to a remake.
For local cases, this is already inconvenient. For outsourced dental restorations, the impact is greater. A remake may involve new communication, new production time, international shipping delays, and a longer wait for the patient.
Poor shade communication can also damage trust between the clinic and the dental lab. The dentist may feel the lab did not follow the case instructions. The lab may feel the shade information was incomplete. The patient only sees the final result.
Accurate dental lab shade communication helps reduce these risks. It gives the technician enough information to make better decisions before production begins.
For dentists and partner labs, predictable shade matching means fewer remakes, fewer delays, and smoother long-term cooperation.
Key Factors That Affect Shade Matching Accuracy
Shade matching accuracy depends on more than the chosen shade code. The clinical environment, photo quality, tooth condition, material type, and preparation design all influence the final result.
Lighting and Environment
Color perception changes under different lighting. A tooth may appear warmer under yellow light and cooler under blue light. Strong artificial lighting, shadows, reflective surfaces, lipstick, bright clothing, or dark backgrounds can all affect shade selection.
Natural daylight or standardized dental lighting is preferred whenever possible. The goal is not just to see the tooth clearly, but to see it consistently.
For photo communication with a dental lab, lighting must also be controlled. Overexposed photos can make teeth look too bright. Underexposed photos can make them appear gray. Color distortion in the camera or screen can mislead the technician.
A good shade photo should show the target tooth, adjacent teeth, and shade tab in the same frame.
Tooth Dehydration
Teeth become lighter and more opaque when they dry out. This often happens during long appointments, isolation, preparation, or try-in procedures.
If the shade is selected after the teeth have been dry for too long, the chosen shade may be too bright. Once the tooth rehydrates, the restoration may no longer blend as expected.
Shade selection should be done early, before preparation when possible, while the tooth is still hydrated.
Photos and Shade Tabs
A standard dental shade guide is useful, but it has limits. Shade tabs offer a fixed reference, while natural teeth show gradients and internal effects. A single shade code cannot fully describe incisal translucency, white spots, cervical saturation, cracks, or surface texture.
For complex esthetic cases, photos should include:
- Shade tab next to the natural tooth
- Full smile view
- Retracted anterior view
- Close-up view of the prepared area
- Side view if translucency or surface texture is important
- Photos showing cervical, middle, and incisal zones
The shade tab should be on the same plane as the tooth. It should not be closer to the camera or angled differently, because this changes how light reflects.
Stump Shade and Restoration Thickness
Stump shade is the color of the prepared tooth underneath the restoration. It is especially important for veneers, lithium disilicate crowns, and high-translucency ceramic restorations.
If the stump is dark, discolored, or heavily restored, the final restoration may need more masking ability. If the ceramic is thin and translucent, the stump shade may affect the final color. Cement shade can also influence the result in veneers and some all-ceramic cases.
Thickness matters too. The same material and shade may look different at different thicknesses. A thin veneer will not behave like a full-contour crown. A high-translucency zirconia crown will not mask the same way as a more opaque zirconia option.
Good shade matching starts before the restoration is made. It depends on how clearly the clinical situation is communicated to the lab.
How Material Choice Affects the Final Shade
Different restorative materials have different optical properties. The same shade code can produce different results depending on the material, thickness, translucency level, and manufacturing technique.
This is why material selection is part of restoration color matching.
|
Restoration type or material |
Shade matching considerations |
Common risk |
|
Zirconia crowns |
Available in different translucency and strength levels; may need staining and glazing for natural characterization |
Can look too opaque or too bright if material choice is not matched to the case |
|
Lithium disilicate |
Offers strong esthetics and translucency; affected by stump shade and restoration thickness |
Can show underlying discoloration if masking is insufficient |
|
Porcelain veneers |
Thin restorations where ceramic, stump shade, and cement shade all influence final color |
Small shade differences are highly visible |
|
Layered ceramic crowns |
Allow detailed control of dentin shade, enamel effect, and incisal translucency |
Requires skilled ceramic layering and clear shade maps |
|
Implant crowns |
Abutment color, gingival area, and soft tissue position affect the final appearance |
May look gray or artificial if the underlying structure is not managed |
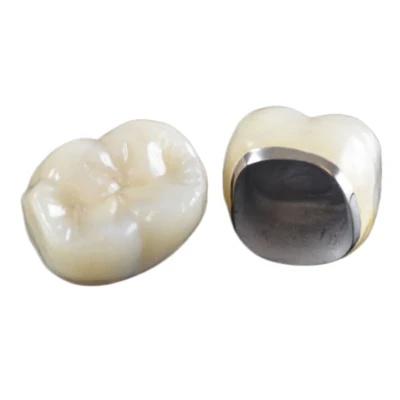
Zirconia Crowns
Zirconia is widely used because of its strength and versatility. Modern zirconia materials include more translucent options for esthetic cases and more opaque options for masking dark preparations or metal abutments.
But zirconia crown shade matching requires judgment. High-translucency zirconia can look more natural, but it may allow more influence from the underlying color. More opaque zirconia can mask better, but it may require careful surface characterization to avoid a flat appearance.
Stain and glaze can improve the final look, especially for cervical warmth, fissure details, incisal effects, and surface gloss. However, stain and glaze cannot fully correct a poor material selection or a major value error.
Lithium Disilicate and All-Ceramic Restorations
Lithium disilicate and other all-ceramic restorations can reproduce enamel-like translucency and natural light reflection. They are often selected for anterior crowns, veneers, and high-esthetic cases.
Their beauty also makes them more sensitive to clinical variables. Stump shade, preparation thickness, ceramic ingot or block translucency, and cement selection all affect the final shade. For this reason, accurate stump shade documentation is essential.
Veneers and Anterior Restorations
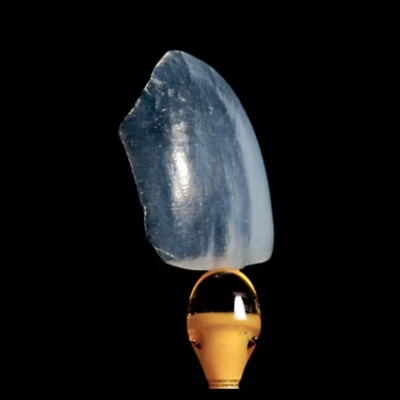
Veneers are among the most shade-sensitive restorations. They are thin, highly visible, and often used to improve smile aesthetics. The final color is created by the interaction of the ceramic, the prepared tooth, the bonding material, and the surrounding teeth.
A veneer that is too opaque may look fake. A veneer that is too translucent may fail to mask discoloration. An overly bright veneer can break the harmony of the smile.
For anterior restorations, the lab needs more than a shade code. It needs photos, shade distribution, surface details, and clear esthetic expectations.
Implant Crowns
Implant crowns present a different challenge. There is no natural prepared tooth under the restoration. Instead, the final color may be influenced by the implant abutment, crown material, gingival thickness, and emergence profile.
If the abutment is dark or the soft tissue is thin, the restoration may appear gray near the cervical area. Material opacity and gingival characterization may need to be planned carefully.
The material does not simply carry the shade. It changes how the shade behaves.
The Role of Digital Technology and Dental Lab Craftsmanship
Digital shade matching in dentistry uses tools such as digital shade analyzers, spectrophotometers, high-resolution photography, intraoral scans, and imaging software to collect more consistent shade information. These tools reduce guesswork and help improve communication between the clinic and the dental laboratory.
Digital data is valuable because it gives the lab a clearer starting point. It can help document color zones, surface details, tooth shape, and restoration design requirements. In cross-border dental lab outsourcing, this matters even more because the technician cannot see the patient directly.
But digital tools do not make the restoration by themselves.
The final result still depends on material knowledge and technician judgment. A technician must decide how to manage translucency, thickness, masking, layering, stain, glaze, polish, and surface texture. A digital shade reading may identify the target color, but craftsmanship determines whether the crown or veneer looks alive in the mouth.
This is where a digital dental laboratory needs both technology and process control. Consistent shade matching depends on standardized case intake, clear production instructions, experienced ceramic work, and final quality checks before delivery.
Technology improves accuracy. Skilled laboratory work turns that accuracy into a natural-looking restoration.

How Dentists Can Help the Lab Achieve Better Shade Matching
Better shade matching starts with better information. When dentists send clear and complete shade records, the lab can make more accurate decisions during design and fabrication.
Send More Than One Shade Code
For simple posterior restorations, one shade code may be enough. For anterior crowns, veneers, implant crowns, and single-tooth restorations beside natural teeth, it is usually not enough.
Natural teeth often have different shades in different zones. The cervical third may need more chroma. The incisal third may need more translucency. The middle third may define the main body color.
A useful shade instruction should describe the tooth as a whole, not just name one tab.
Provide Clear Shade Photos
Photos are one of the most useful tools in dental lab shade communication. They help the technician see the relationship between the restoration area and adjacent teeth.
Good shade photos should be sharp, well-lit, and not overexposed. The shade tab should be placed next to the tooth and aligned in the same direction. The photo should show enough surrounding teeth for context.
For anterior cases, multiple photos are better than one perfect-looking image. A full-face smile photo shows overall harmony. A retracted close-up shows tooth color and surface details. A side angle can reveal translucency and texture.
Mark Different Tooth Zones
For complex esthetic cases, a simple shade description is often too limited. A basic shade map can help the lab understand where to place warmth, brightness, translucency, or characterization.
Useful details include:
- Cervical shade
- Middle third shade
- Incisal translucency
- White spots or hypocalcification marks
- Crack lines or internal effects
- Surface texture
- Desired final brightness
- Whether the patient wants a natural or brighter esthetic result
These details help the lab avoid a flat, generic restoration.
Share Stump Shade and Material Requirements
Stump shade should be provided for veneers, all-ceramic crowns, discolored preparations, post-and-core cases, and implant-supported restorations with visible esthetic demands.
The lab also needs to know the intended material, available thickness, masking requirement, and any special esthetic request. If the preparation is dark but the dentist requests a highly translucent material, the final color may be difficult to control. If the restoration space is limited, the lab may need to adjust material selection or design strategy.
Clear case information helps the lab make the right decision before production, not after a failed try-in.
Shade Matching Is Essential for Predictable Restorations
Shade matching matters because dental restorations must do more than restore function. They must fit the patient's smile. A crown, veneer, or implant restoration should match the surrounding teeth in color, value, translucency, texture, and overall character.
Accurate shade matching improves esthetic outcomes, reduces remakes, saves chairside time, and supports patient confidence. It also makes dental lab cooperation more predictable, especially when cases are outsourced across regions or countries.
ADS dental laboratory Ltd is a China-based digital dental lab providing custom dental restorations for overseas dentists and dental laboratories. If you need a long-term outsourcing partner with a clear digital workflow, material experience, and careful shade communication, contact us to discuss your cases.